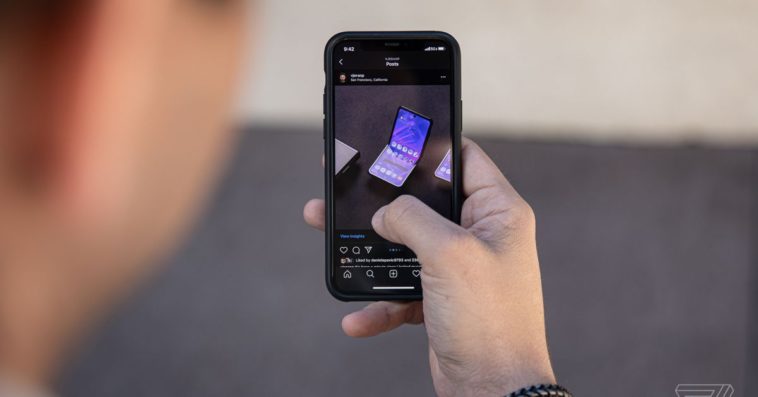
Since Instagram allowed its users to post multiple photos has been a long time and this option allowed for numerous creative options. One of them is the Seamless Instagram panorama where one can slice their photo into 2 photos.

For taking advantage of this little hack, we provide you a how-to guide on making a seamless Instagram panorama. A user of Instagram before making the seamless Instagram panorama requires these 2 things.
- Adobe Photoshop; the pixel-based photo editor that allows the user to work with different layers
- A layman understanding of the requirement of Instagram for the sizing of the photos.
The thing about sizing is that no matter what photo a user posts, Instagram automatically resizes it and then compress that image. This will be done in the following manner.
- Square photo is going to be of 1080 x 1080 size
- The vertical photo will be of 1080 (w) x 1350 (h)
So if a user needs to create the panorama with 2 vertical photos, they need to duplicate their pixels lengthwise as the height remains the same. This way the photo of 1080 x 1350 size will transform to 2160 x 1350 size.
And if a user wishes to make the seamless Instagram pan aroma with 3 photos, they will need to sue the 3240 x 1350 size. The same will be the case for square photos as the panoramic space of the photo will have twice the width like 2160 x 1080.
Creating the panorama:-
Creating the seamless Instagram Panorama, one needs to open the Photoshop and the 2 documents before following these steps.
- The first document is going to be of 2160 x 1350 size. This should be sliced into two parts and we suggest naming it as Full image.

- The 2nd document is going to be of 1080 x 1350 size and it will be the one where the user needs to drop in their single images and then prepare them for export. We suggest naming it Slices.
- Open or drag the image in the 1st document which we named as Full Image.
- Open the “View” section in the menu bar and then select the option “New Guide layout”.
- There, set the 2 columns with 0 Gutter and 0 Width. If the rows have been selected, deselect them as the user will not need to cut them horizontally instead it will be cut vertically. This is going to create the Turquoise colored line in the middle of the photo.

- Before moving to the next step the user needs to make sure that the “Snap To guide” option is turned on.
- Now select the Marquee tool on the left side and dray the cursor over the photo’s first half. If the above mentioned Snap To guide feature is on, this selection will automatically snap the vertical turquoise line that was created earlier.
- After the selection, the user can then simply copy and then paste that selection into the new layer in their 2nd document named previously as Slices.
- Return to the “Full Image” document and then repeat the same thing for the photo’s other half.
Each layer can be exported at the same time using the option of Photoshop titled “layers to Files” or one can export them individually.

Putting the panorama on Instagram:-
Getting these seamless Instagram panorama photos to show on your Instagram is really easy and we have laid down it in a step by step manner below.
- If the exports are indeed of 1080 x 1350 size, simply make sure that the vertical photos are being posted by clicking on the icon of arrows located on the bottom left of the screen.

- For posting multiple photos in a single post, you can either long-press one of the photos or select the option “Select Multiple” located on the bottom right of the 1st Afterward, select all of the other photos in the order they appear.
Related Content
Realme X50 Pro comes with Snapdragon 865 and 5G features for only $600
Latest hack that lets gamers play Google Stadia on their smartphone without the need of a controller
How-to guide for using Instagram for sharing with the other social media networks