A Nintendo Switch is only available with an internal storage capacity of 32 GB which is really small when you plan to have more than a few games as well as apps downloaded on to your handheld console. The only solution right now to increase the storage problem for a Nintendo Switch is to make use a of a microSD card. Still, the question is what the easiest method to do this is. Another big question here is that if you are already using the microSD card and want to use another one with ever more storage capacity, how you can migrate the files from one microSD card to another one. These are the two main questions related to increasing the storage capacity of a Nintendo Switch and we have answer to both of these questions.

We recommend that before using our down below method to increase the storage space on your Nintendo Switch, make a backup of your games and apps onto your desktop computer with help of the microSD card. As for any title of the Nintendo Switch that has been downloaded straight from Nintendo eShop, it can be easily archived and then downloaded on the console directly if need be. Still, it take a lot of time to download the entire library and to save time, there is nothing better than to have a local copy on your personal computer.

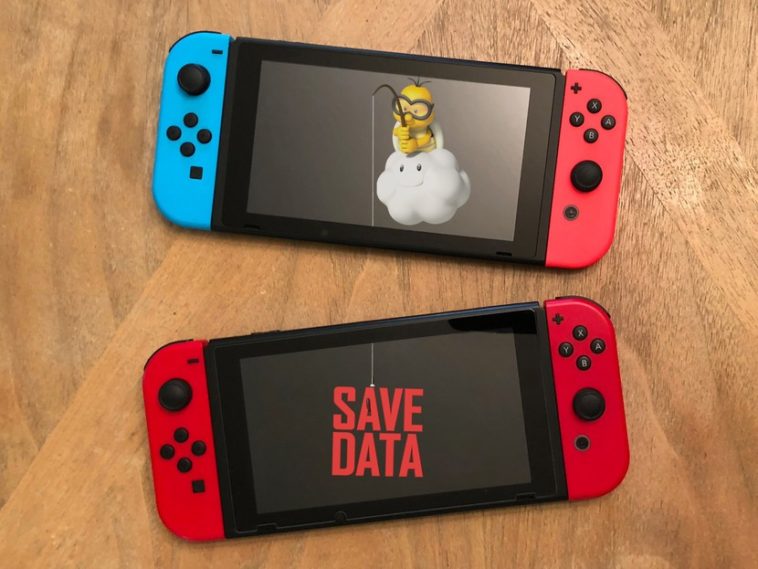
As for the Games Saves for games such as the complete run for the “The Master Trials in Breath of the Wild”, they are only saved in the internal memory of Nintendo Switch locally. As long as a user archives the Saved Game data on their Nintendo Switch and does not delete their game, they won’t miss out on their valuable data.
Things needed for increasing storage capacity:-
In order to start the whole process of upgrading the storage on a Nintendo Switch, you will need a computer, an adapter for microSD card, and a high storage capacity microSD card. As per the recommendation of Nintendo itself, make use of a single microSD card which is compliant with UHS-1 (Ultra High-Speed Phase-I) and has a transfer speed in-between 65-95 MBPS. Avoid using different types of microSD cards on the same Nintendo Switch for different games as this is going to result in conflicts.
As for the whole setup process of the storage upgrade and game migration, it should be done in a handheld manner instead of docked up manner while being right alongside your computer. This is because you will require the access to the storage slot located right below the kickstand.
Moving games from Nintendo Switch to the microSD card:-
This method is in case the internal storage capacity of the Nintendo Switch is full and a user does not have a microSD card. You can then use this method for migrating the console data onto a microSD card. For this particular case, we made use of migrating the data of the game titled “Super Smash Bros: Ultimate from our Nintendo Switch to the microSD card of 128 GB. We used SanDisk’s microSDXC UHS-1 card for this purpose. Follow the down below steps to perform the migration of the games from the Nintendo Switch to the microSD card.
- Hold down on the Power button of your Nintendo Switch to open the Power Options and then selecting the option titled “Turn Off” for shutting own your console.
- After that turn the console over and lift its kickstand located right next to the right-sided Joy-Con controller. Underneath its plastic stand, you will be able to see a slot for the microSD card.

- Insert the microSD card you wish to use in this slot. If the card is successfully docked into this slot, you will hear a slight clicking sound.
- Now Power the console back on and navigate to its ‘System Settings’ in the form of a gear icon located on the bottom right of the screen. Once there press the button ‘A’ or use double-tap to open the settings.

- You can either scroll won by using the Joy-Con controller or the touchscreen of the console. Scrolling down, look for the ‘Data management” and clicking on it will open the screen for storage management.

- Navigate on this screen and select the option “Manage Software” located right under the Quick Archive.
- There you will be able to see which games are stored on local storage and which are on the microSD card. Due to there not being any tool for transfer on Nintendo Switch, you will be needed to archive the games first. This has to be done one game every time.
- After choosing the game for migration, highlight it and select it from the list.

- From the screen of Game Data Information, look for the option Archive Software and click on it. A popup for confirmation will appear stating the game will be archived but the game icon and the saved data will remain on the home screen of the console. Confirm this popup to start the archiving process.

- Go to the home screen by pressing the Home Screen button located on the right of the Joy-Con. Locate the game icon which you have just archived and hit the ‘A’ button on it. A popup confirmation will appear once more which is to be confirmed by clicking on option Download. Wait for it to finish.

- Again press the Home Screen button and go to the page of System Settings. Go to Data Management; select the game you have downloaded recently. The storage amount could be seen right next to the icon of the microSD card right below the title of the game.

- Repeat the same process for each game individually for as many games as you like and they will be sent to the microSD card. As for the future demands and purchases on the console, they will also be routed to your microSD card.
Related Content
Those who play Fortnite or PUBG Mobile do not update to iOS 13.0
How-to guide for rearranging and deleting the apps in the new iOS 13