
Budget-Friendly Home Improvement Projects That Make the Biggest Difference
Not every home improvement project requires a contractor, a permit, or a five-figure budget. Some of the upgrades that make the biggest visible difference in how a home looks and functions are the ones homeowners can genuinely do themselves over a weekend or two, often for a fraction of what a full renovation would cost. The trick is knowing which projects deliver real, noticeable impact and which ones are better left alone or handed off to a professional.
Below are the home improvement projects that consistently deliver the most visible transformation for the time and money invested, organized from the simplest weekend fixes to slightly more involved weekend-plus projects, along with practical notes on tools, cost, and common mistakes for each.
1. A Fresh Coat of Paint
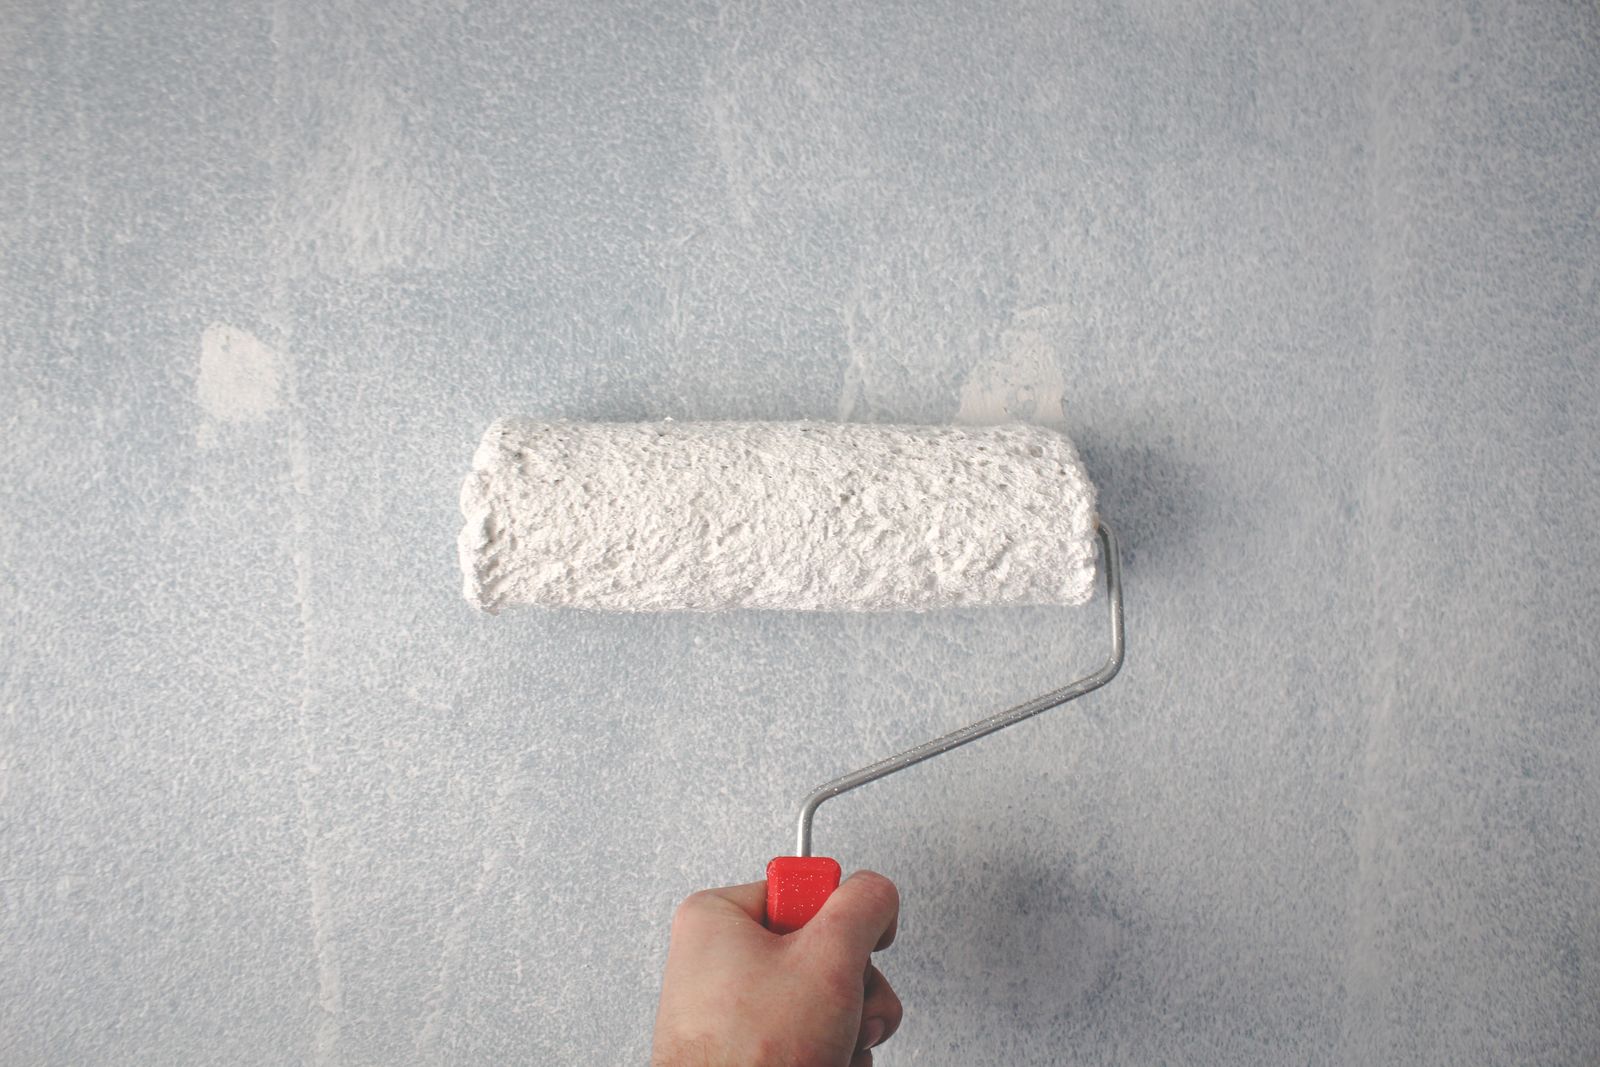
Paint remains the single highest-return home improvement project available, both in terms of cost and visual impact. A single room can typically be repainted in a weekend for the cost of a few gallons of paint, rollers, and painter’s tape, and the transformation from dingy, scuffed walls to a clean, current color is often more dramatic than homeowners expect going in.
The most common mistake is skipping proper prep — cleaning walls, filling nail holes, and taping edges carefully — which is what actually separates a professional-looking paint job from an obviously amateur one. A quality angled brush for cutting in around trim and a good roller cover make more difference to the final result than the paint brand itself.
2. Swap Out Cabinet and Door Hardware
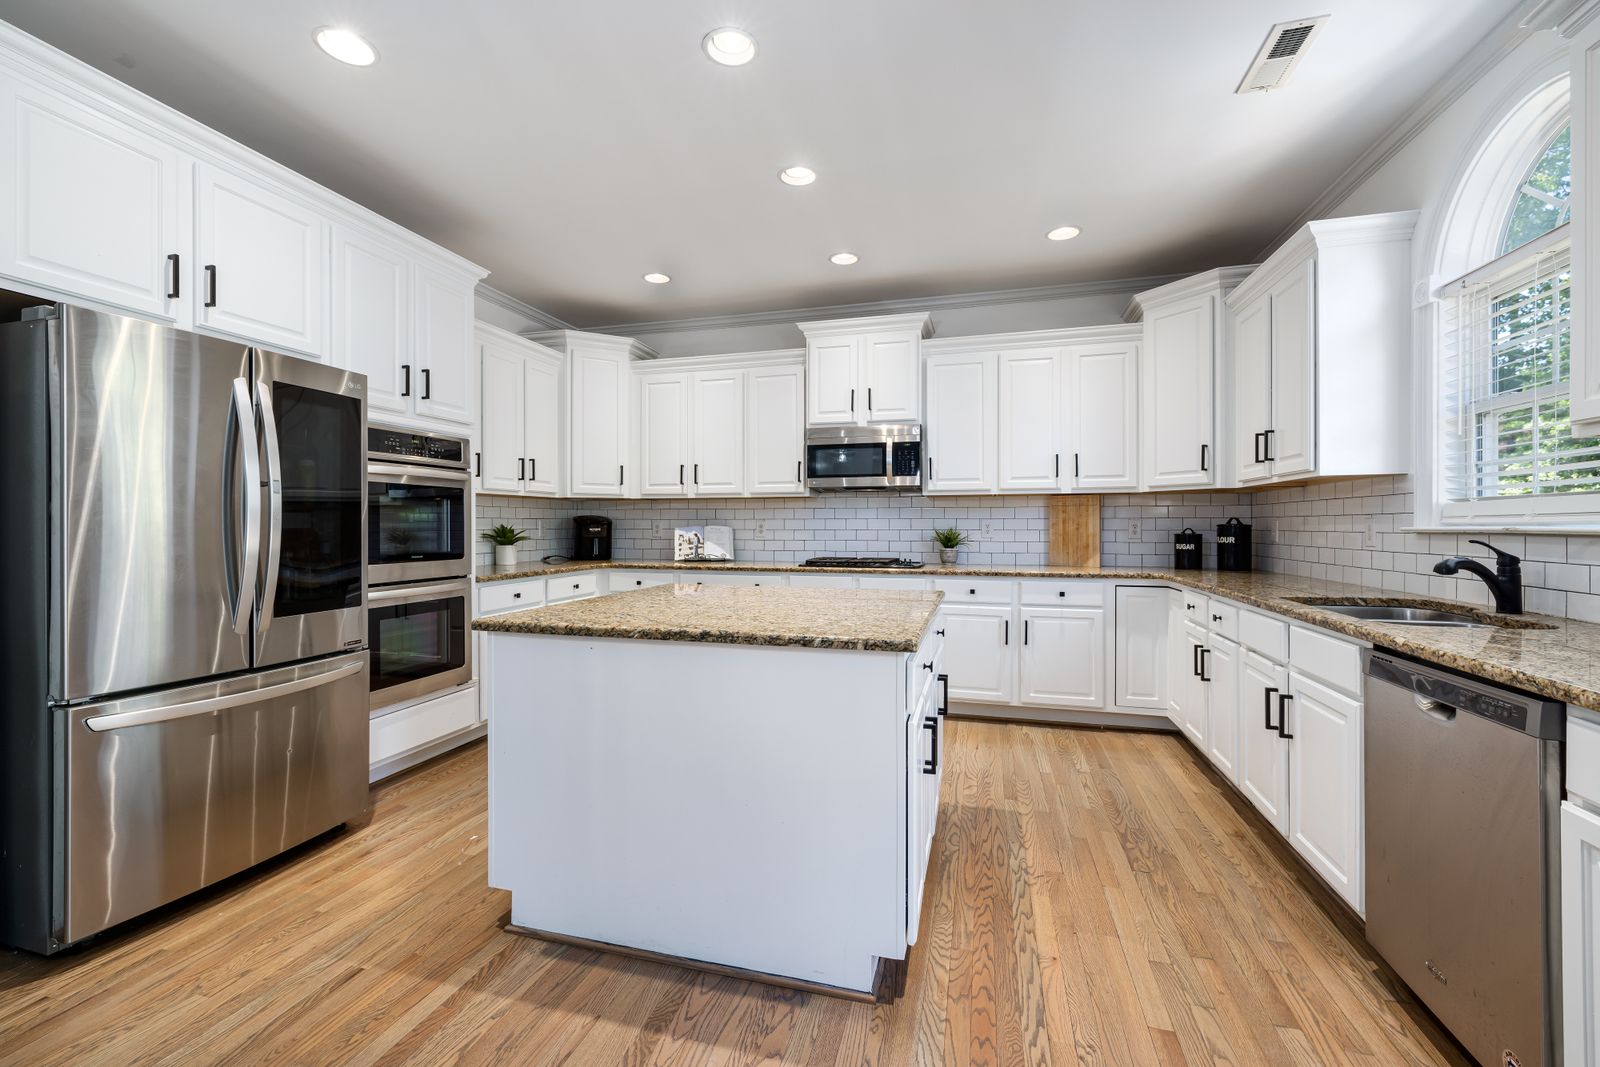
Replacing dated cabinet knobs, drawer pulls, and door hardware is one of the fastest, cheapest upgrades available, usually completable in an afternoon with nothing more than a screwdriver and a drill. Moving from builder-grade brass or plastic hardware to matte black, brushed brass, or another current finish instantly modernizes kitchens, bathrooms, and any door throughout the house.
Before buying replacement hardware, measure the existing hole spacing on drawer pulls specifically — mismatched spacing means drilling new holes, which is a bigger job than most people expect for what should be a simple swap. Buying a few extra pieces beyond the exact count needed also saves a second trip if one gets damaged during installation.
3. Upgrade Lighting Fixtures
Swapping outdated overhead fixtures, dim vanity lights, or a builder-grade dining chandelier for something more current is one of the more impactful upgrades a homeowner can tackle without an electrician, provided the existing wiring is in good condition and the fixture is a direct swap rather than a new installation location.
Always shut off power at the breaker, not just the wall switch, before touching any wiring, and test with a non-contact voltage tester before handling exposed wires. For anyone uncomfortable working with electrical connections, this is one of the few projects on this list worth paying an electrician for rather than risking a mistake.

4. Re-Caulk and Weatherstrip
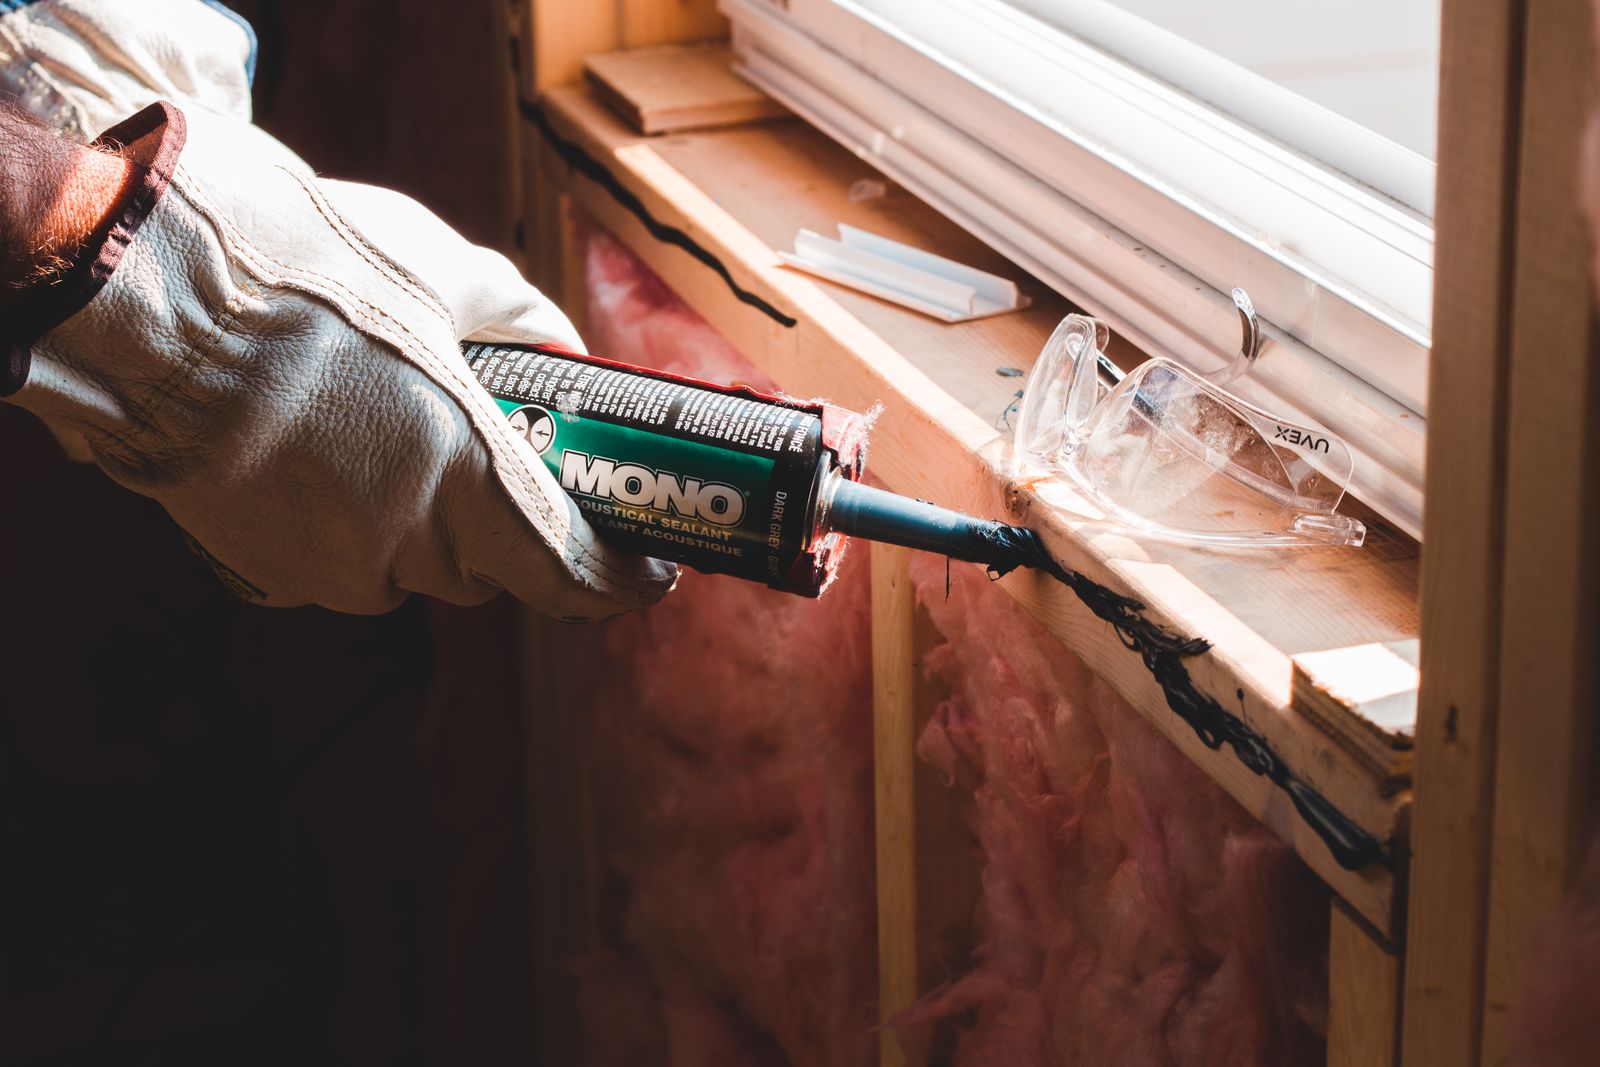
Cracked, yellowed caulk around a bathtub or sink, and worn weatherstripping around doors and windows, are both easy fixes that most homeowners overlook simply because they’re not especially visible until pointed out. Fresh caulk instantly makes a bathroom look cleaner and better maintained, while new weatherstripping can noticeably reduce drafts and lower heating and cooling costs.
Removing old caulk completely before applying new caulk is the step most people skip, and it’s the difference between a smooth, professional-looking bead and a lumpy one that traps moisture underneath. A caulk removal tool and some rubbing alcohol for the final cleanup make this a genuinely quick project once the old material is out.
5. Refresh Grout and Regrout Tile
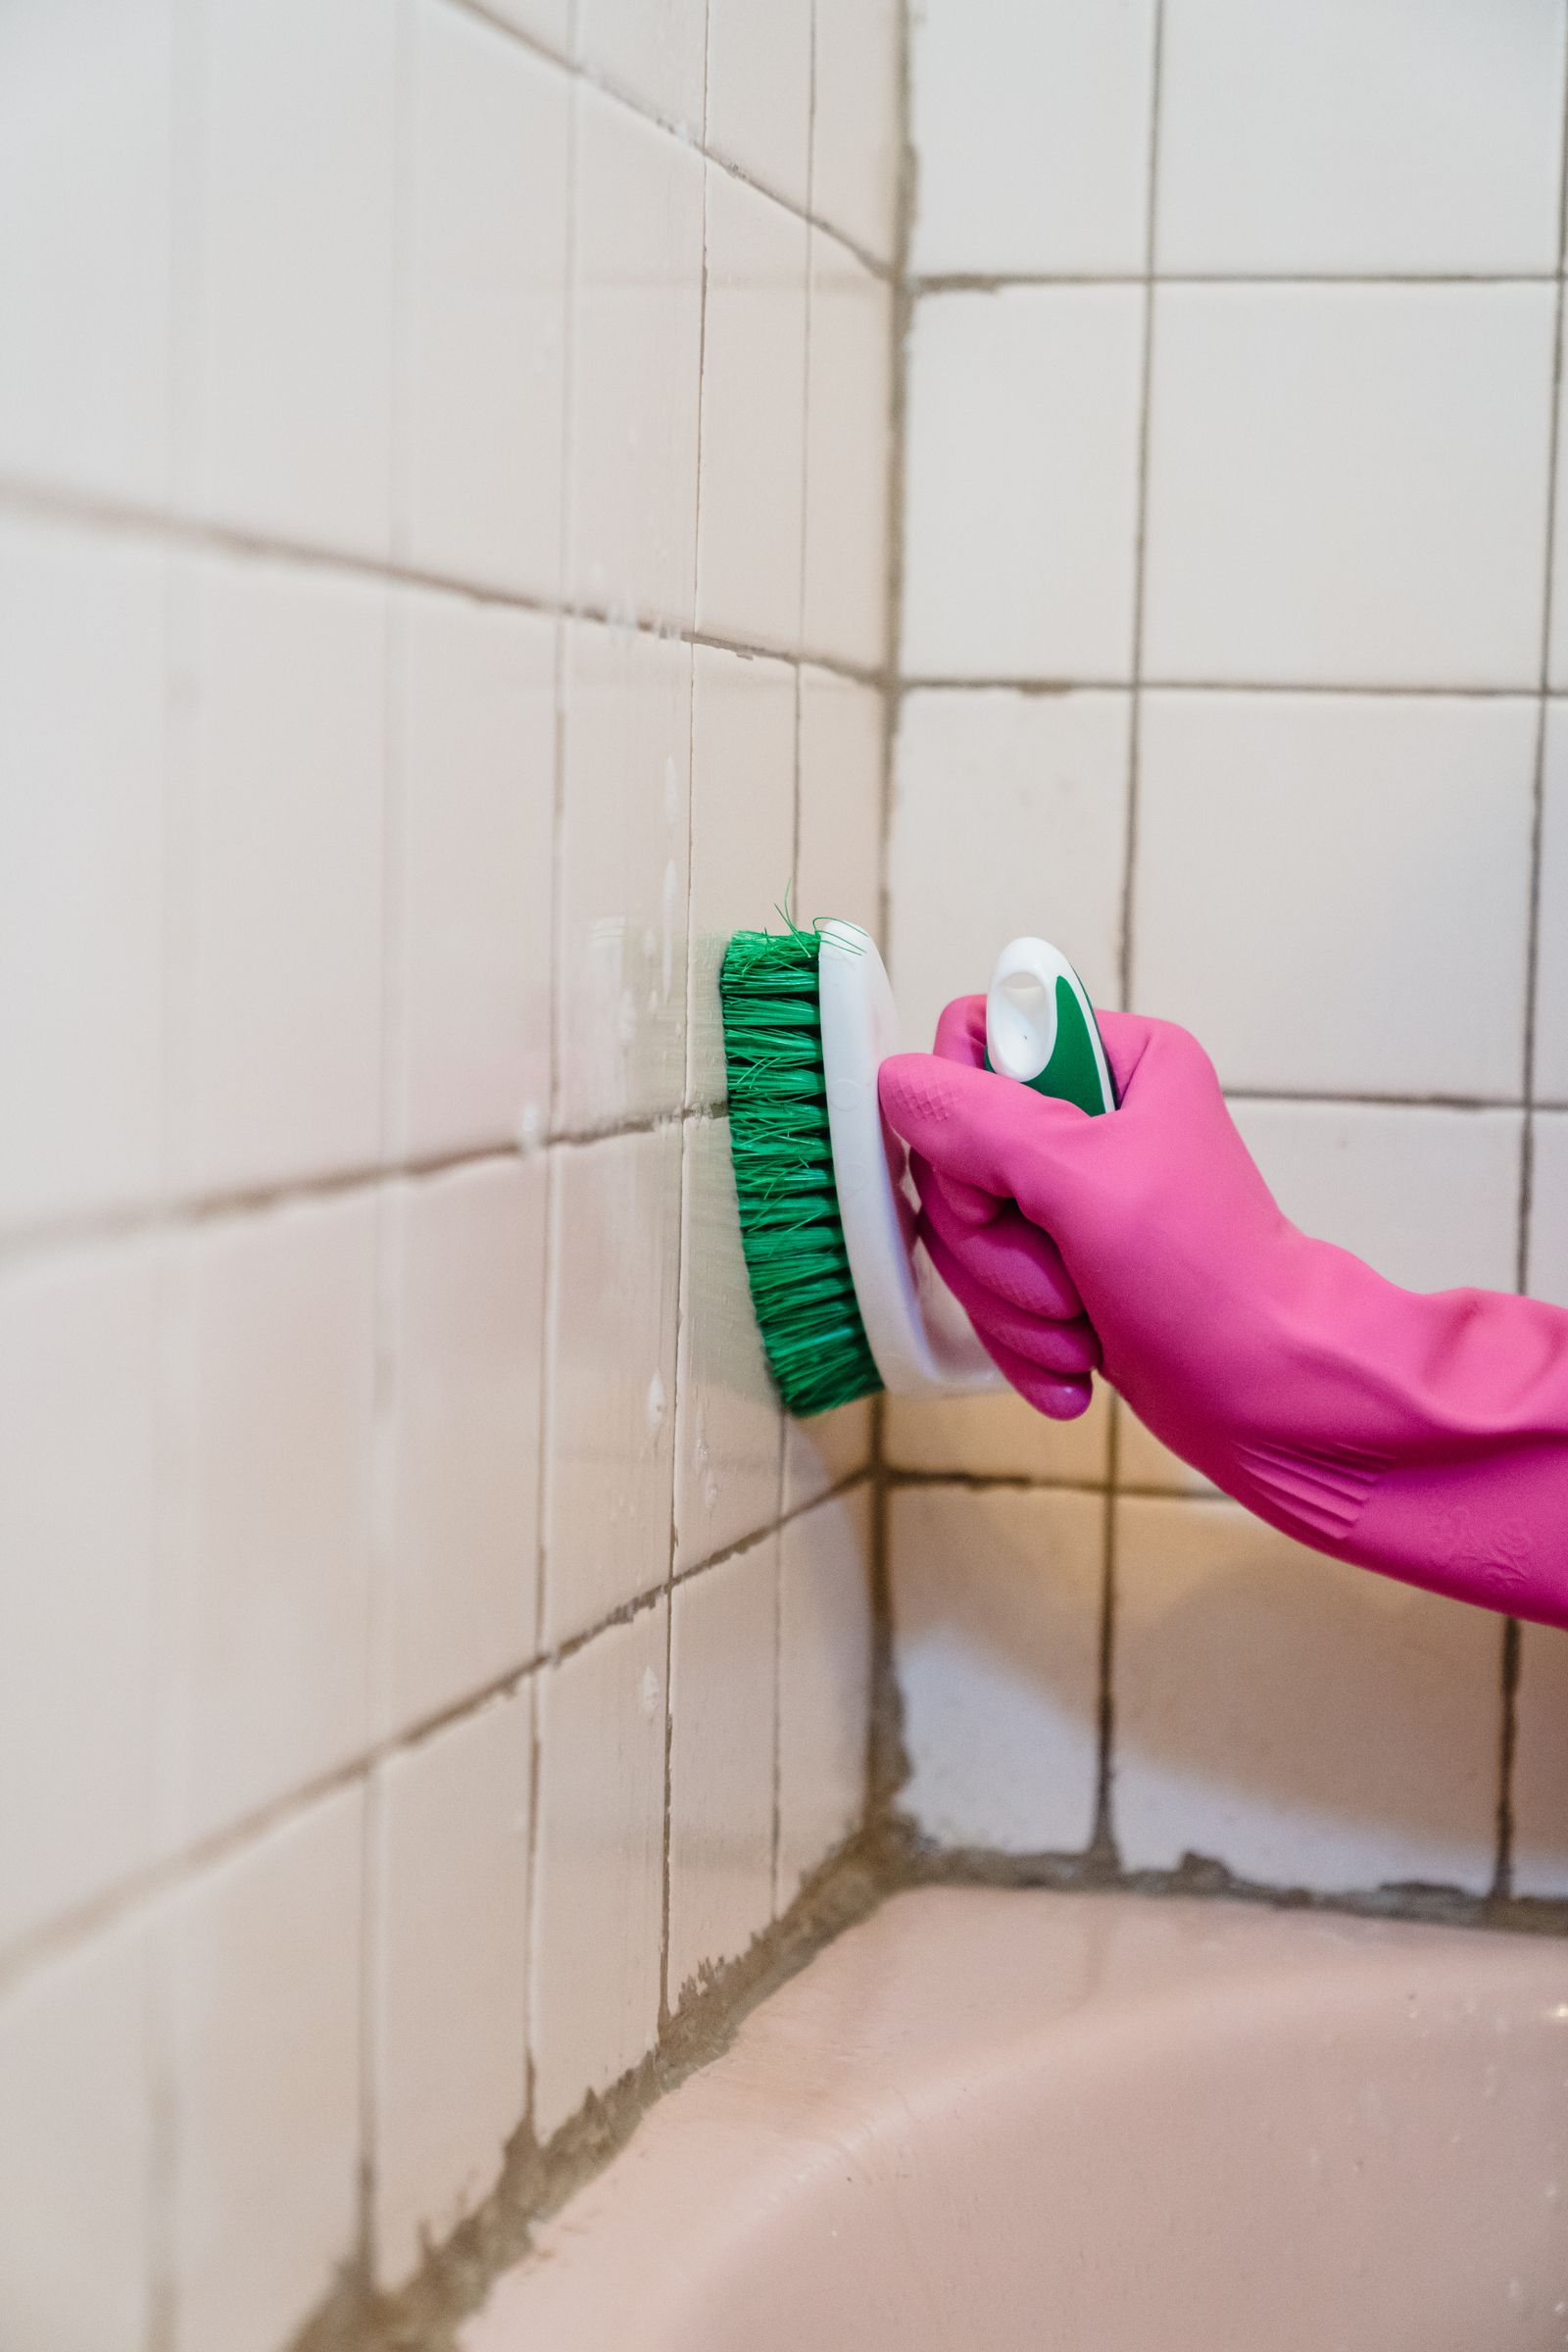
Discolored, cracked, or moldy grout can make an otherwise clean and well-maintained bathroom or kitchen look neglected. Rather than replacing tile entirely, a grout refresh — either deep cleaning and sealing existing grout or fully removing and repiping it — restores a finished look for a small fraction of a full tile replacement cost.
Grout pens and color-restoring sealants work well for grout that’s simply discolored but structurally sound, while cracked or crumbling grout genuinely needs to be removed and replaced rather than covered over, since it’s usually a sign of water intrusion that will keep causing problems if left alone.
6. Install a Peel-and-Stick or Tile Backsplash
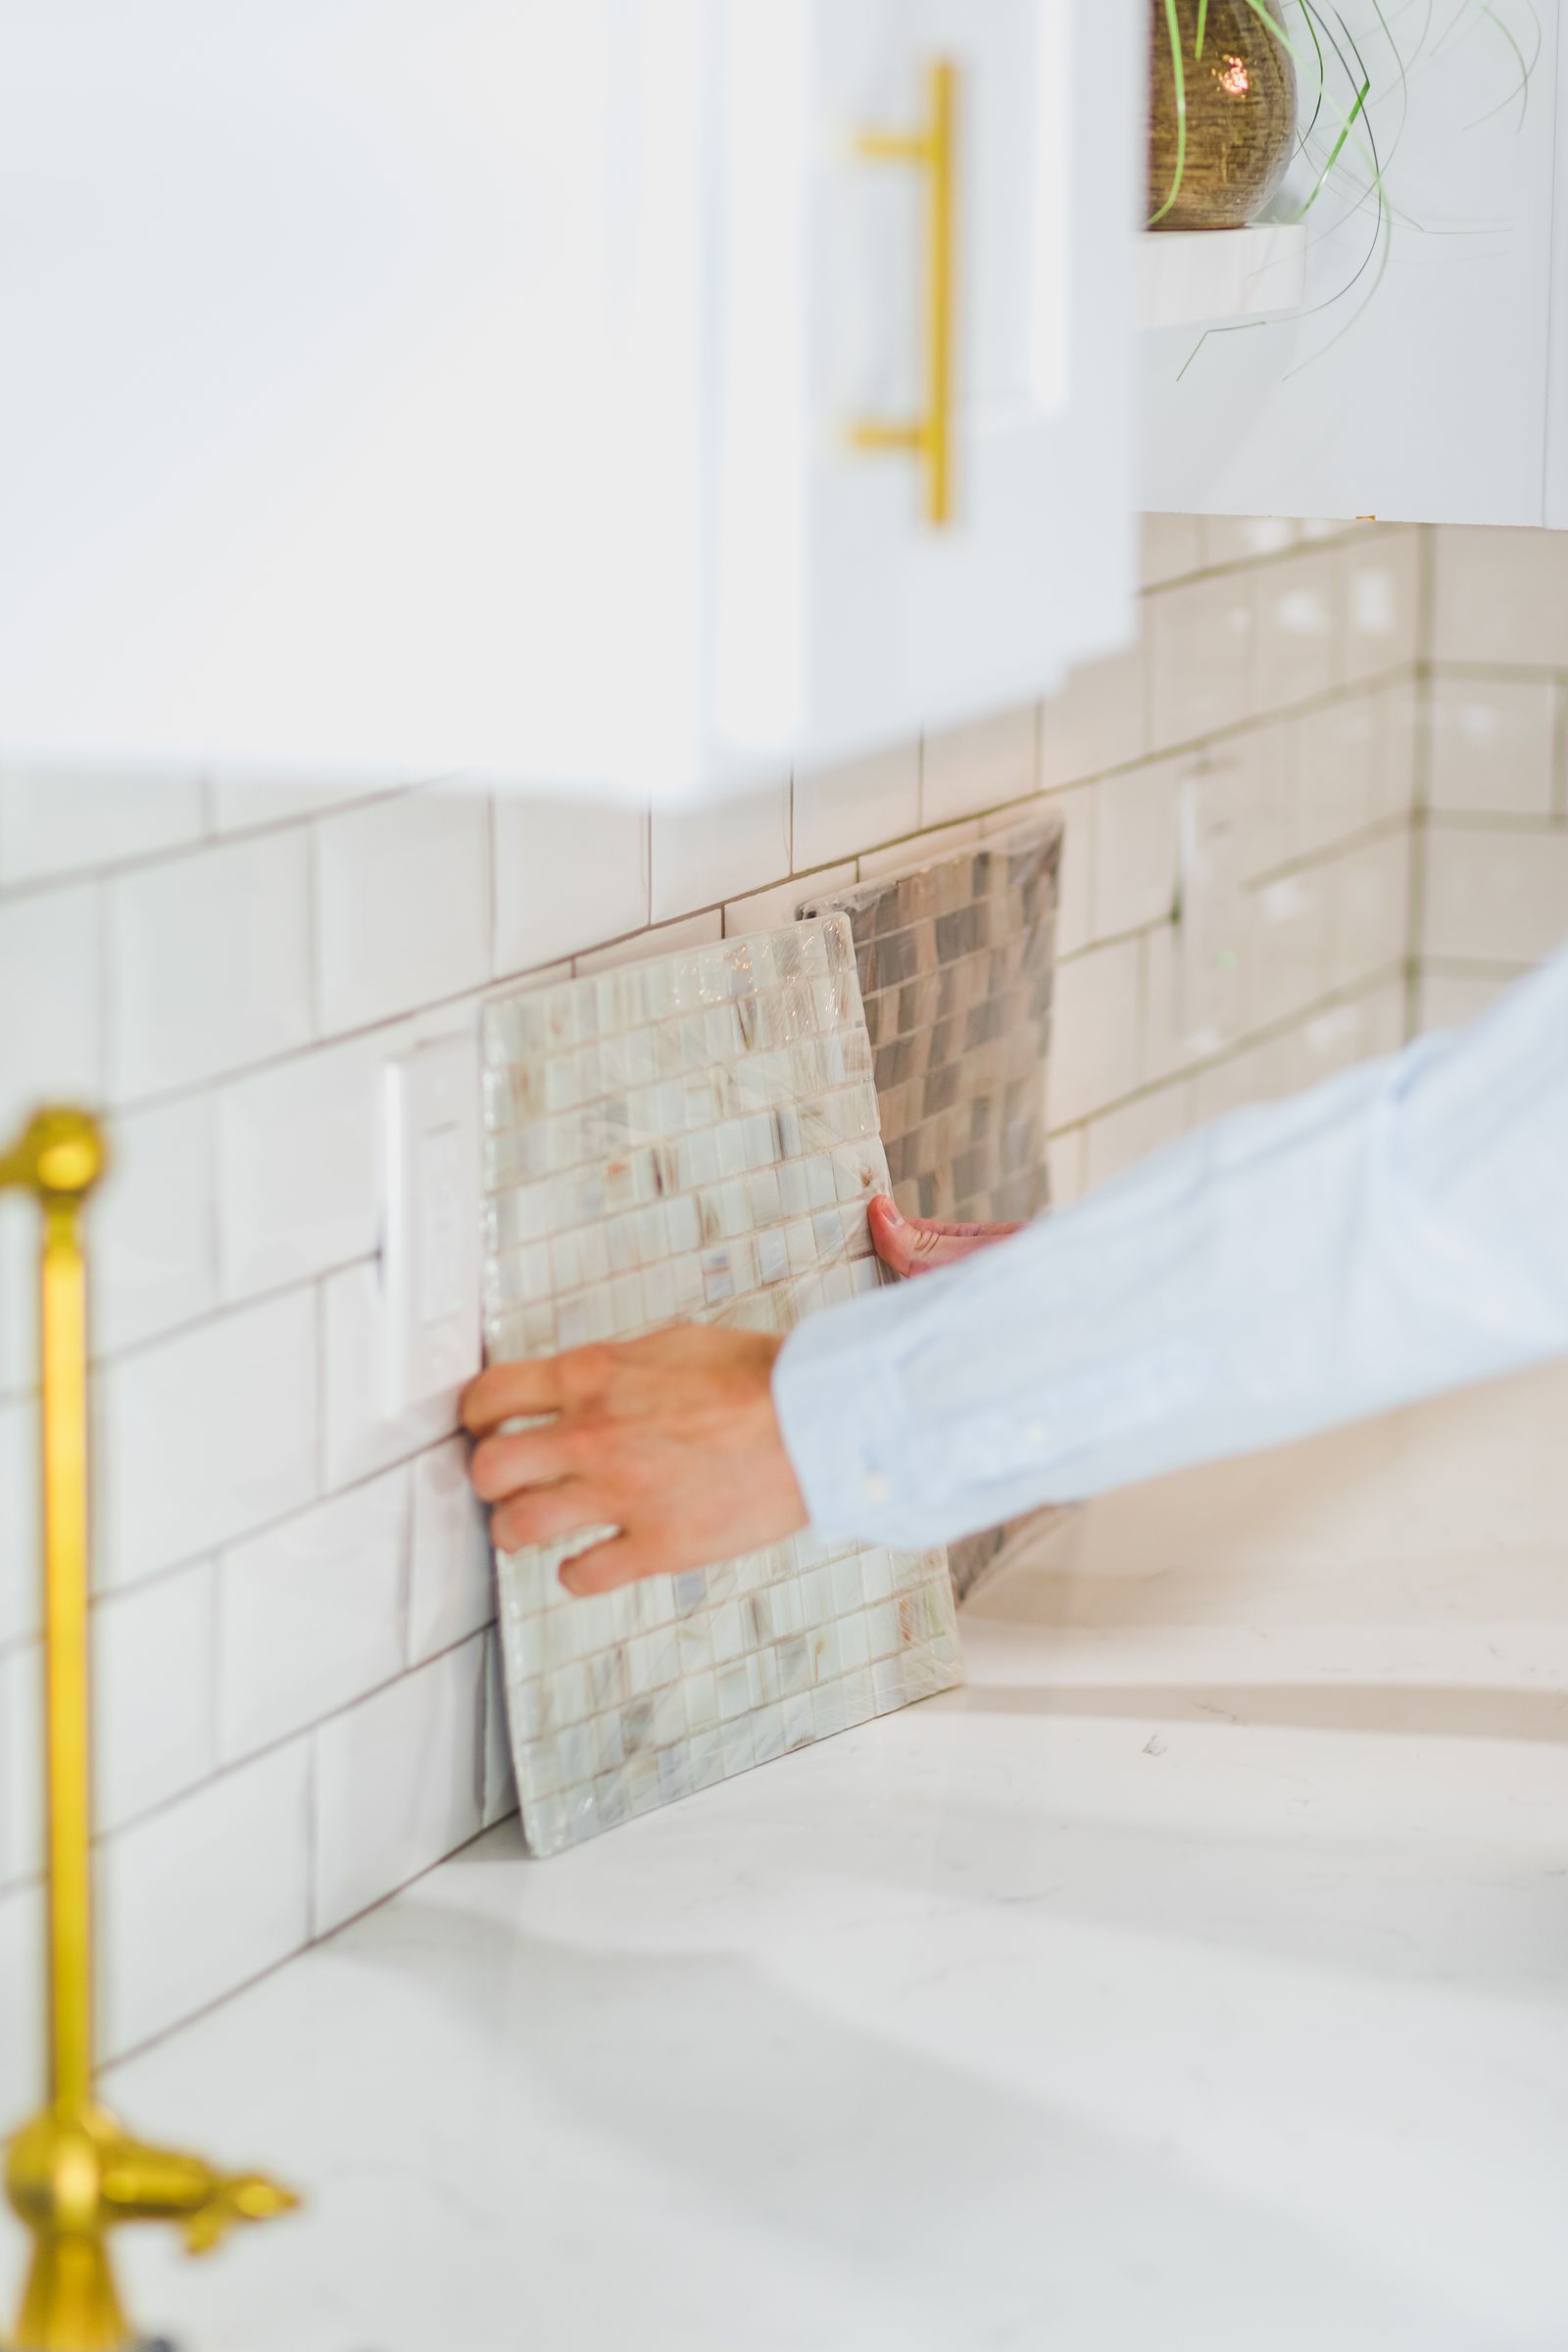
A kitchen backsplash is one of the more visually impactful updates available, and modern peel-and-stick tile options have made it achievable without any tile-cutting or grouting experience for straightforward, rectangular wall sections. For anyone comfortable with a wet saw, a genuine tile backsplash offers more durability and a wider range of finish options.
Whichever route you choose, a level and careful planning of the layout before committing to adhesive matters more than the material itself — measuring and dry-fitting the full layout ahead of time avoids ending up with an awkward sliver of tile at the end of a row.
7. Add Trim, Molding, or Wainscoting
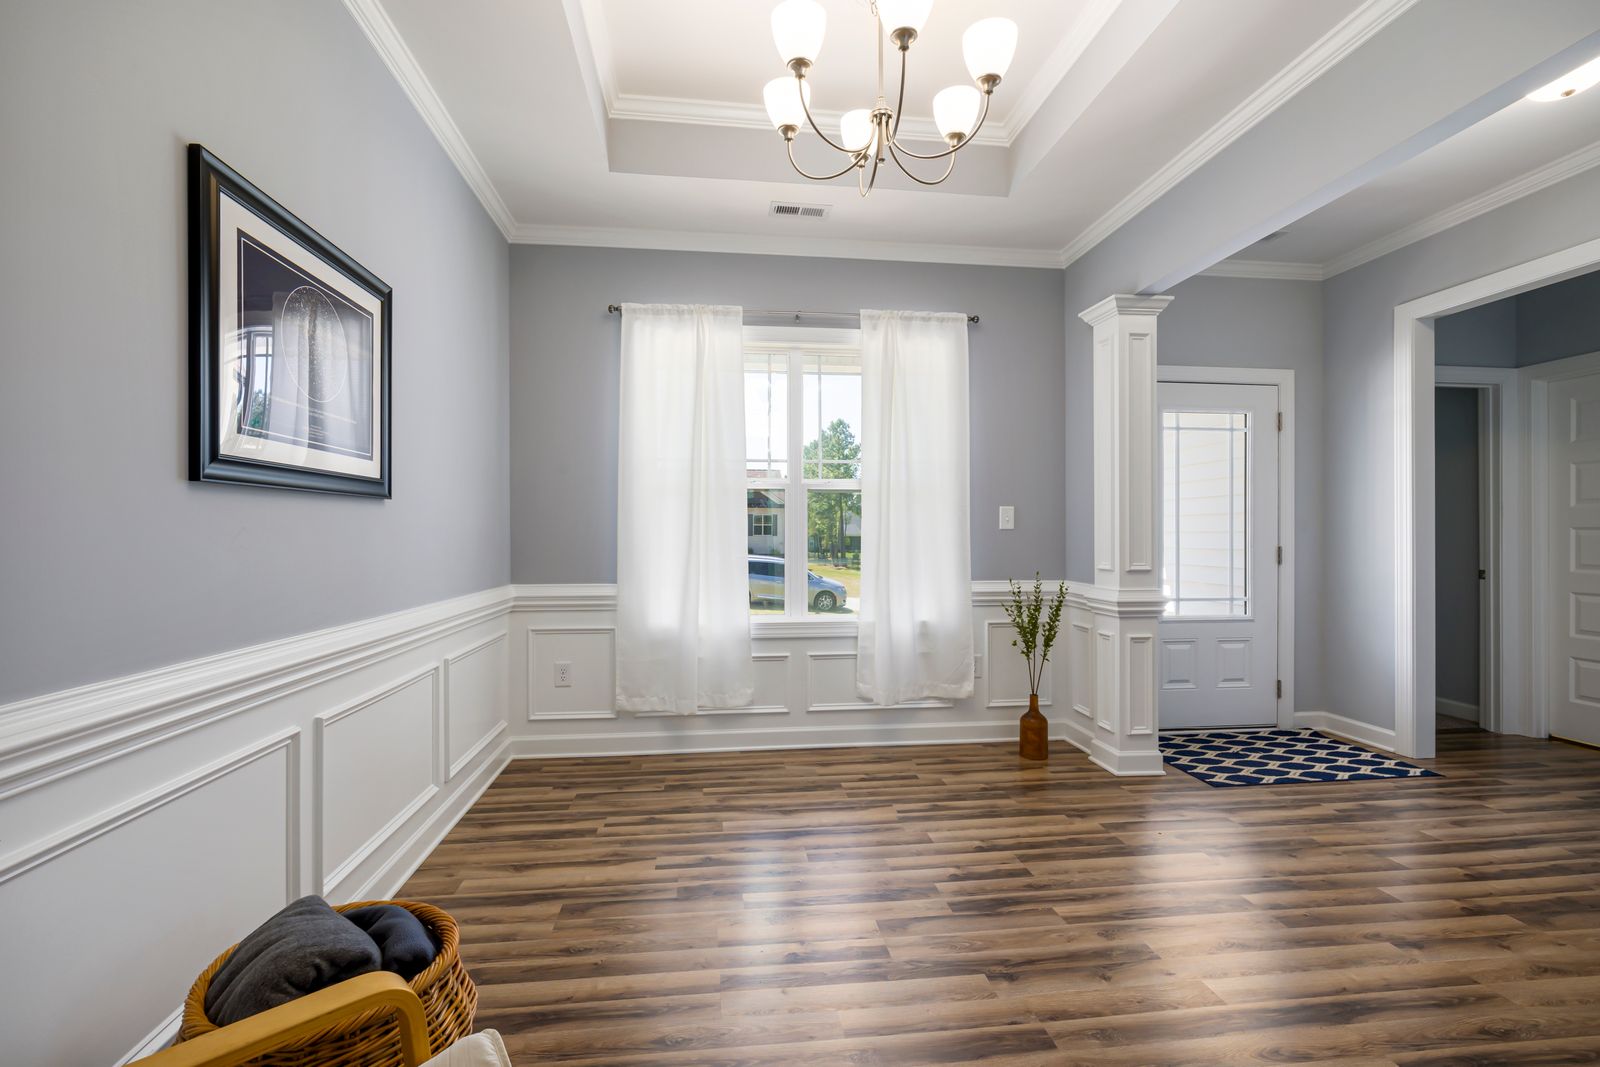
Adding crown molding, baseboards, or wainscoting to a room with plain, builder-grade walls introduces the kind of architectural detail that makes a space feel more finished and intentional. Pre-primed MDF trim is significantly easier to work with than solid wood for a first attempt, and a basic miter saw makes clean corner cuts achievable without professional carpentry experience.
Caulking the seams between trim and wall, and filling nail holes before painting, is what makes DIY trim work look seamless rather than obviously homemade — skipping this step is the most common reason an otherwise well-installed trim job still looks unfinished.
8. Power Wash Exterior Surfaces
Driveways, siding, decks, and walkways accumulate grime, algae, and general weathering over time that a power washer can remove in a fraction of the time scrubbing by hand would take, instantly brightening a home’s overall curb appeal without any new materials or construction.
Using too high a pressure setting or holding the nozzle too close to a surface can damage wood decking or strip paint unintentionally, so testing on a small, inconspicuous area first and using the lowest effective pressure setting protects surfaces while still delivering a dramatically cleaner result.

9. Replace an Outdated Faucet
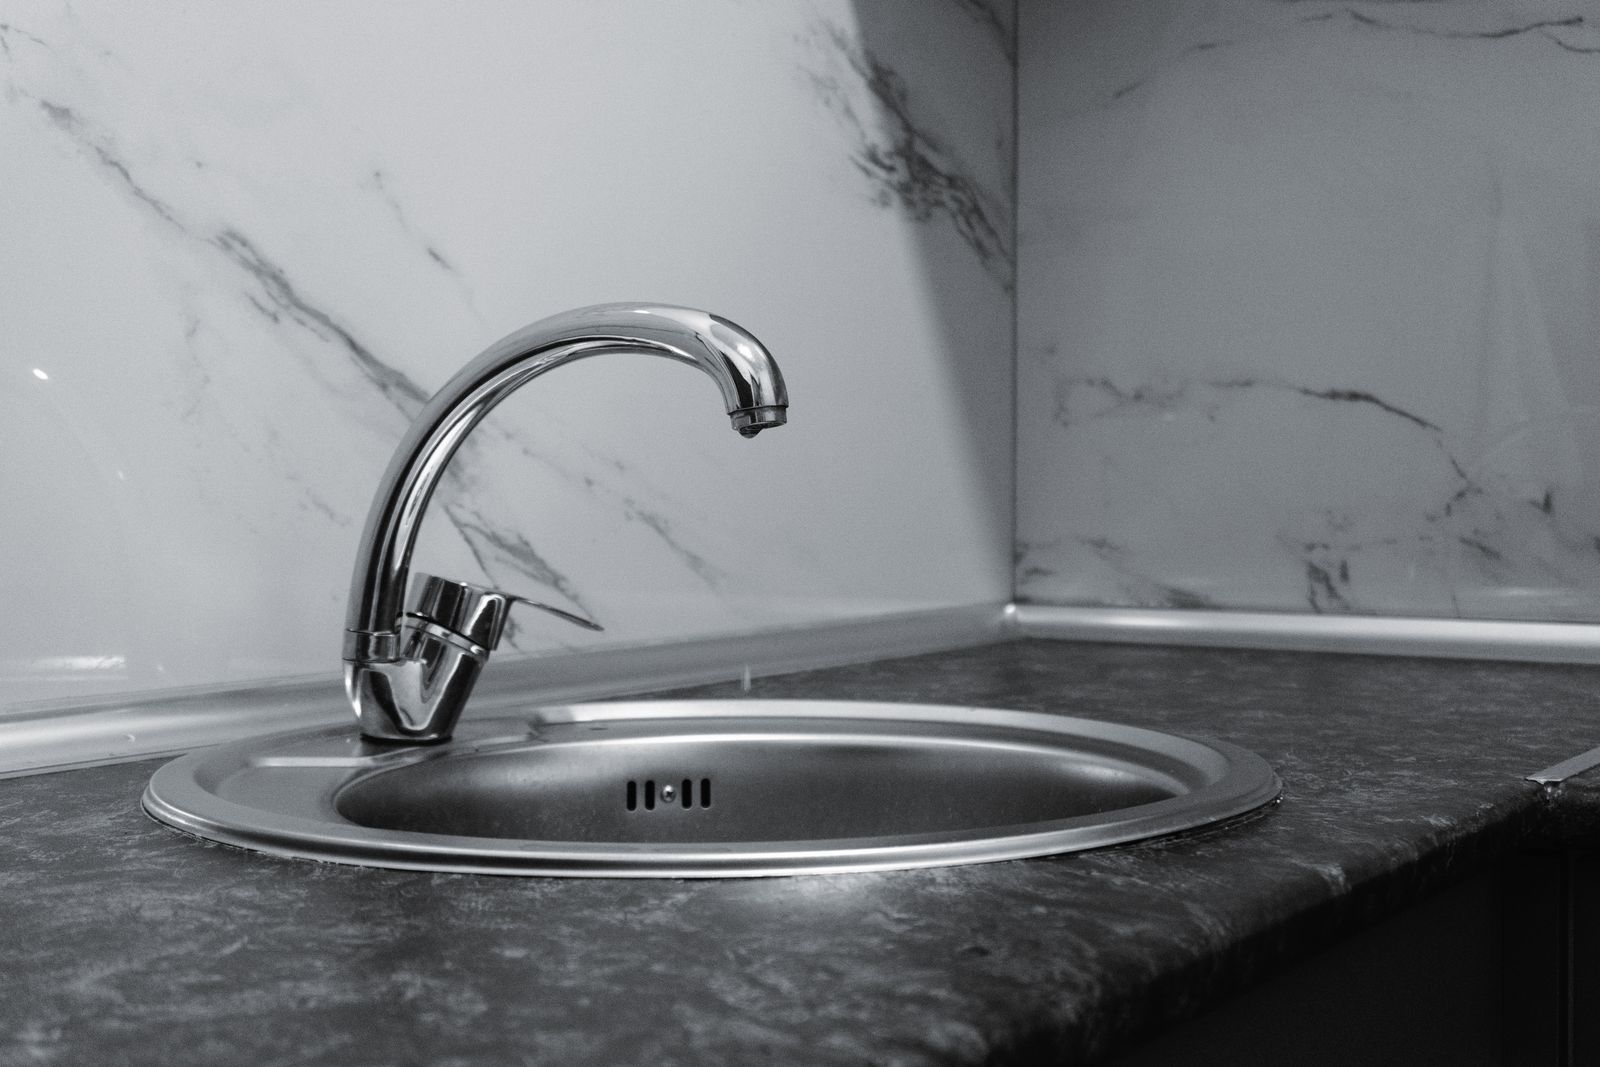
A kitchen or bathroom faucet swap is a manageable plumbing project for most homeowners, typically requiring only a basin wrench, adjustable pliers, and plumber’s tape, and it can transform the entire feel of a sink area even if nothing else in the room changes. Matching the new faucet’s finish to existing cabinet hardware ties the whole space together.
Shutting off the water supply valves under the sink before starting, and having towels ready for the inevitable small amount of residual water in the lines, prevents the most common frustrations first-time faucet installers run into.
10. Improve Curb Appeal With Small Exterior Touches
A freshly painted front door, updated house numbers, a new mailbox, and simple landscaping cleanup — trimming overgrown shrubs, edging garden beds, adding mulch — collectively make a bigger first impression than almost any single interior project, and most of these individual tasks cost very little and take only a few hours each.
Choosing a front door color that contrasts intentionally with the home’s exterior siding or trim, rather than blending in, is a small decision that makes a noticeably bigger visual impact than most homeowners expect from paint alone.

Tools Worth Owning Before You Start
A handful of tools cover the vast majority of projects on this list: a cordless drill with a full bit set, a basic hand tool kit (screwdrivers, pliers, a utility knife, a level), a stud finder, a good tape measure, and a caulk gun. Beyond these basics, tools like a miter saw or power washer are worth renting for a single project rather than buying outright unless you expect to use them again within the next year or two — many hardware stores rent this kind of equipment by the day at a fraction of the purchase cost.
Safety gear is worth buying rather than skipping, even for seemingly minor projects — safety glasses, work gloves, and a dust mask are inexpensive and prevent the kind of small injuries that are easy to dismiss as unlikely until they happen. Keeping a basic first aid kit accessible in the garage or wherever tools are stored is a small habit that matters more than it seems until it’s actually needed.
Budgeting for DIY Home Improvement
Most of the projects covered here fall well under a few hundred dollars in materials, with paint, hardware, and caulk projects often costing under a hundred dollars total. Lighting, backsplash, and trim projects typically land in the low hundreds depending on the size of the space and material quality chosen. Setting a per-project budget before shopping, and pricing materials at two or three different retailers, helps avoid the scope creep that turns a simple weekend project into an expensive one.
DIY vs. Hiring a Professional
Cosmetic, low-risk projects — paint, hardware swaps, caulking, grout refreshing, curb appeal touches — are almost always safe and cost-effective to DIY, even for beginners. Anything involving electrical wiring beyond a direct fixture swap, gas lines, structural changes, or major plumbing rerouting should go to a licensed professional, both for safety and because mistakes in these areas are considerably more expensive to fix after the fact than they would have been to do correctly the first time. When in doubt about whether a project is within DIY scope, a quick consultation with a professional — even if you ultimately do the work yourself — can clarify what’s genuinely safe to attempt.
Cost comparison also matters here. A professional will almost always charge more than the materials cost of a DIY project, but that premium buys experience, speed, and often a warranty on the work — worth paying for on anything with real safety implications or anything you genuinely don’t have time to learn properly. For purely cosmetic projects, the premium is harder to justify, since the skills involved are approachable enough for most homeowners to learn correctly with a bit of research and patience.
Common Home Improvement Mistakes to Avoid
Skipping proper prep work is the single most common mistake across nearly every project on this list, whether that’s cleaning surfaces before painting, removing old caulk completely, or measuring hardware spacing before ordering replacements. Rushing a project to finish it in a single day, rather than allowing proper dry or cure times for paint, caulk, and adhesives, is another frequent issue that undermines otherwise solid work. Finally, underestimating a project’s true scope — not accounting for the time needed to move furniture, protect flooring, or clean up — leads to more frustration than the actual technical difficulty of most of these projects ever does.
Seasonal Timing for Home Improvement Projects
Exterior projects like power washing, painting a front door, and landscaping cleanup are best tackled in mild, dry weather, typically spring or early fall, when temperatures allow paint and sealants to cure properly without extreme heat or cold interfering. Interior projects like painting, lighting upgrades, and trim work can be done year-round, though many homeowners find winter months — when outdoor projects aren’t practical anyway — a natural time to focus on interior improvements instead.
Frequently Asked Questions
What’s the single best home improvement project for the money?
Painting consistently delivers the most visible transformation relative to cost, making it the most commonly recommended starting project for anyone new to home improvement.
Do I need a permit for any of these projects?
Generally no — cosmetic projects like the ones covered here typically don’t require permits, though it’s always worth checking local regulations before starting any project involving plumbing or electrical work specifically.
How do I know if a project is too advanced to DIY?
If a project involves structural changes, gas lines, or electrical work beyond a simple fixture swap, or if you find yourself unsure how to safely shut off utilities before starting, it’s worth consulting a professional rather than proceeding.
What’s the most commonly regretted DIY mistake?
Rushing prep work — skipping proper cleaning, sanding, or old-material removal — is the most common reason a DIY project looks noticeably unfinished compared to professional work, even when the actual installation technique was reasonably solid.
Building a Home Improvement Timeline
Rather than trying to tackle everything on this list at once, most homeowners find better results by sequencing projects logically — starting with the room or area that bothers them most day to day, then moving outward. A useful approach is to group projects by season and by room, tackling one or two per month rather than committing to a single overwhelming renovation weekend. This also spreads the cost out in a way that’s easier to budget for than one large expense, and it gives each project the proper time to be done well rather than rushed to make way for the next one.
Keeping a simple running list of what’s been done, what materials were used, and any lessons learned from each project also pays off down the road — matching paint colors for touch-ups or remembering which hardware finish was used in a particular room becomes much easier with a written record than trying to recall details months or years later.
Documenting Before and After
Taking photos before starting any project, even a simple one, is worth the extra minute it takes. Beyond the satisfaction of seeing a clear before-and-after comparison, these photos are genuinely useful if you ever need to reference exact paint colors, hardware models, or layout measurements for future projects or when selling a home. Many homeowners also find that photographing a project’s progress, not just the start and end points, helps identify what worked well and what they’d do differently next time.
Final Thoughts
Home improvement doesn’t have to mean a full renovation or a significant financial investment to make a real difference in how a home looks and feels. The projects covered here — from a simple coat of paint to a full backsplash installation — can be tackled individually over successive weekends, allowing homeowners to spread out both the cost and the effort while still building real skill and confidence along the way. Starting with the simplest, lowest-risk projects first, then working up to more involved ones as confidence grows, is the most sustainable way to approach ongoing home improvement without feeling overwhelmed by the scope of everything a home could potentially use.
Pick one project from this list, gather the few tools it actually requires, and set aside a single afternoon — that first finished project tends to be the one that makes the rest of the list feel genuinely achievable rather than aspirational.