
Garage Organization Ideas That Make Room for the Car Again
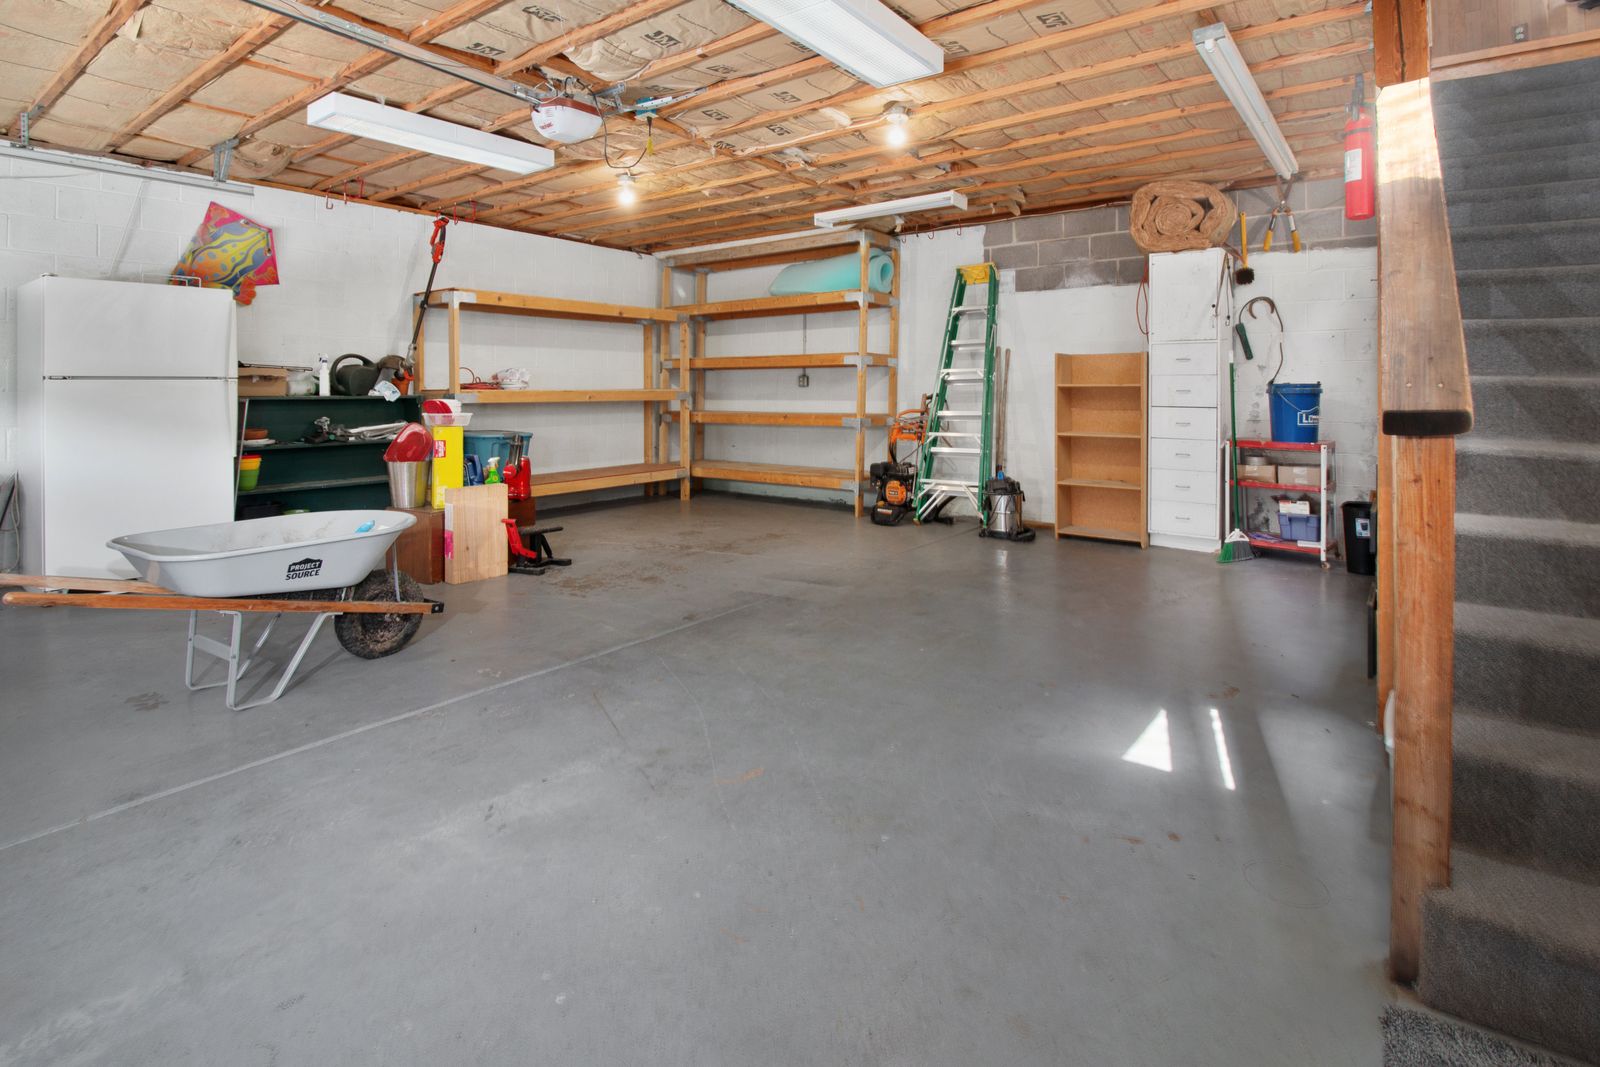
The garage is the room nobody plans for. It starts as a place for the car, then quietly becomes the drop zone for tools, sports gear, paint cans, holiday boxes, and anything that does not have a home anywhere else in the house. A few years of that and you have a space where parking the car is the one thing that no longer happens there.
The good news is that garage organization does not need a weekend renovation or a trip to a specialty store. It needs a system: clear zones, a few dedicated storage pieces, and the discipline to put things back where they belong. Here are seven ways to get a garage back under control, in an order that actually makes sense to tackle.
It helps to think of a garage the same way you would think about any other room in the house. A kitchen has a spot for plates, a spot for pans, and a spot for spices, and nobody has to think twice about where to put something away after dinner. A garage can work the same way once every category of item has one clear home. The seven steps below build on each other, starting with planning and ending with the habit that keeps the whole system working months later, not just on the day you finish the cleanout.
1. Start With Zones, Not Shelves
The instinct when a garage feels chaotic is to go buy shelving. Resist that for a day and do something cheaper first: walk the space and decide what actually belongs in it, then sort everything into rough groups before a single bracket goes on the wall.
A workable set of zones for most households looks like this: tools and repairs, sports and outdoor gear, seasonal and holiday items, yard and garden tools, and overflow household storage. Not every garage needs all five, and some households will want a sixth for a workbench or hobby area. The point is to decide the zones on paper first, then assign each one a section of wall or floor before you buy a single storage product.
Once the zones are mapped out, group the physical items into those same piles right on the floor. You will immediately see what you own too much of, what is actually trash, and what needs a home that does not exist yet. That is far more useful than buying shelving first and hoping it fits what you already have.
This step also surfaces the easiest wins first. Duplicate tools you forgot you owned, expired chemicals that should never have been kept this long, and gear for a hobby nobody in the household does anymore all tend to show up the moment everything is out on the floor at once. Setting those items aside for donation or disposal before anything goes back on a shelf means you are only building storage for things you actually intend to keep.
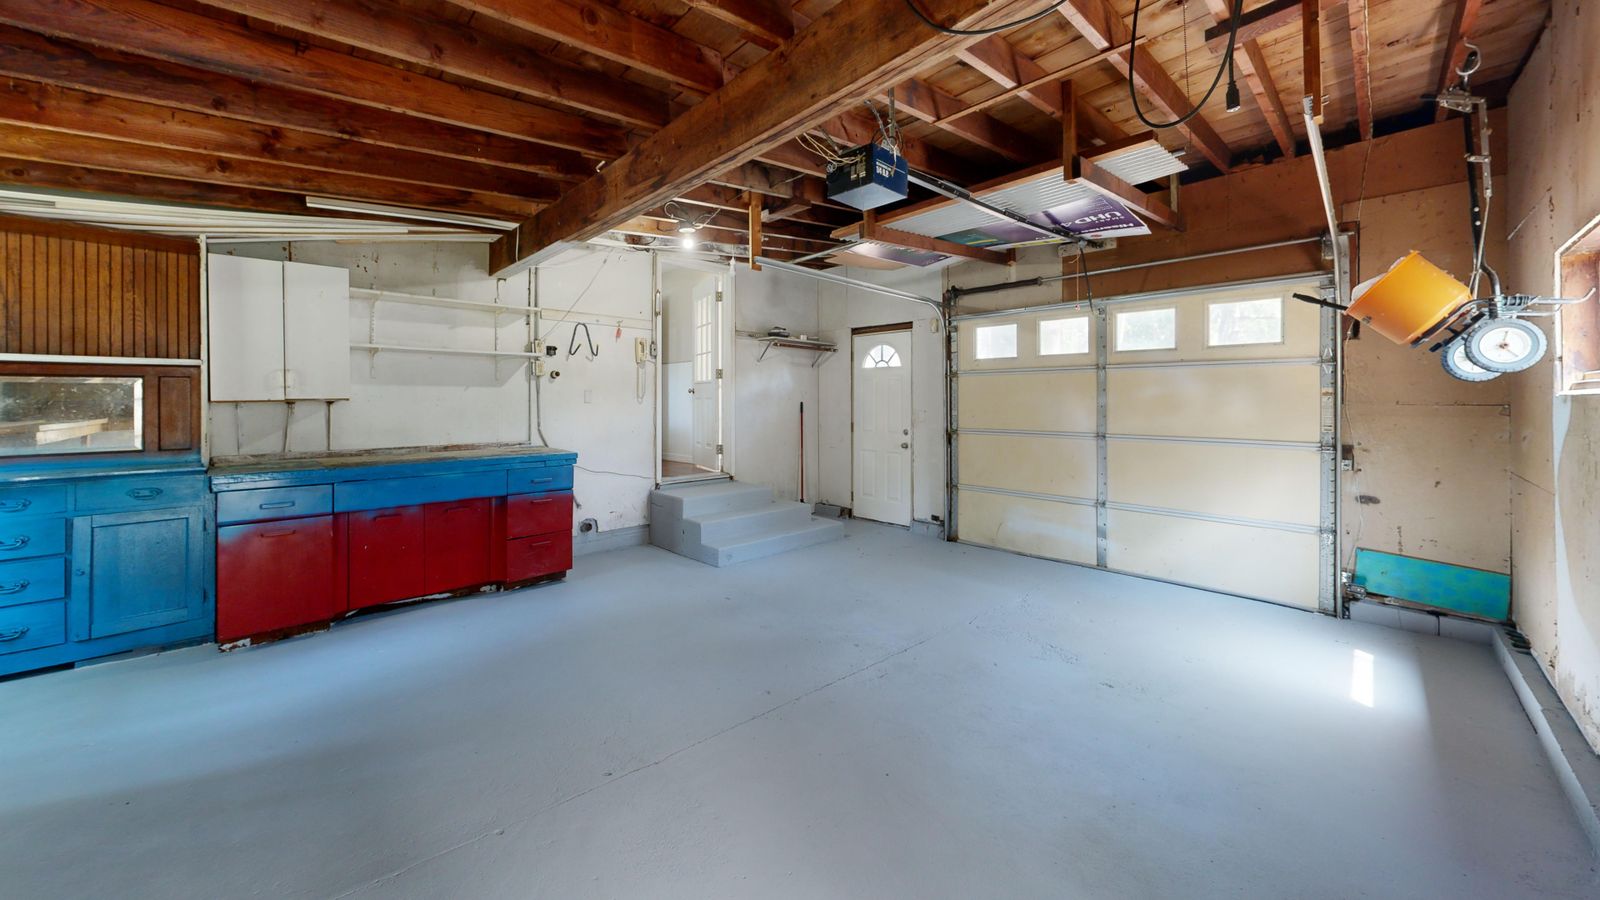
2. A Pegboard Wall for Tools
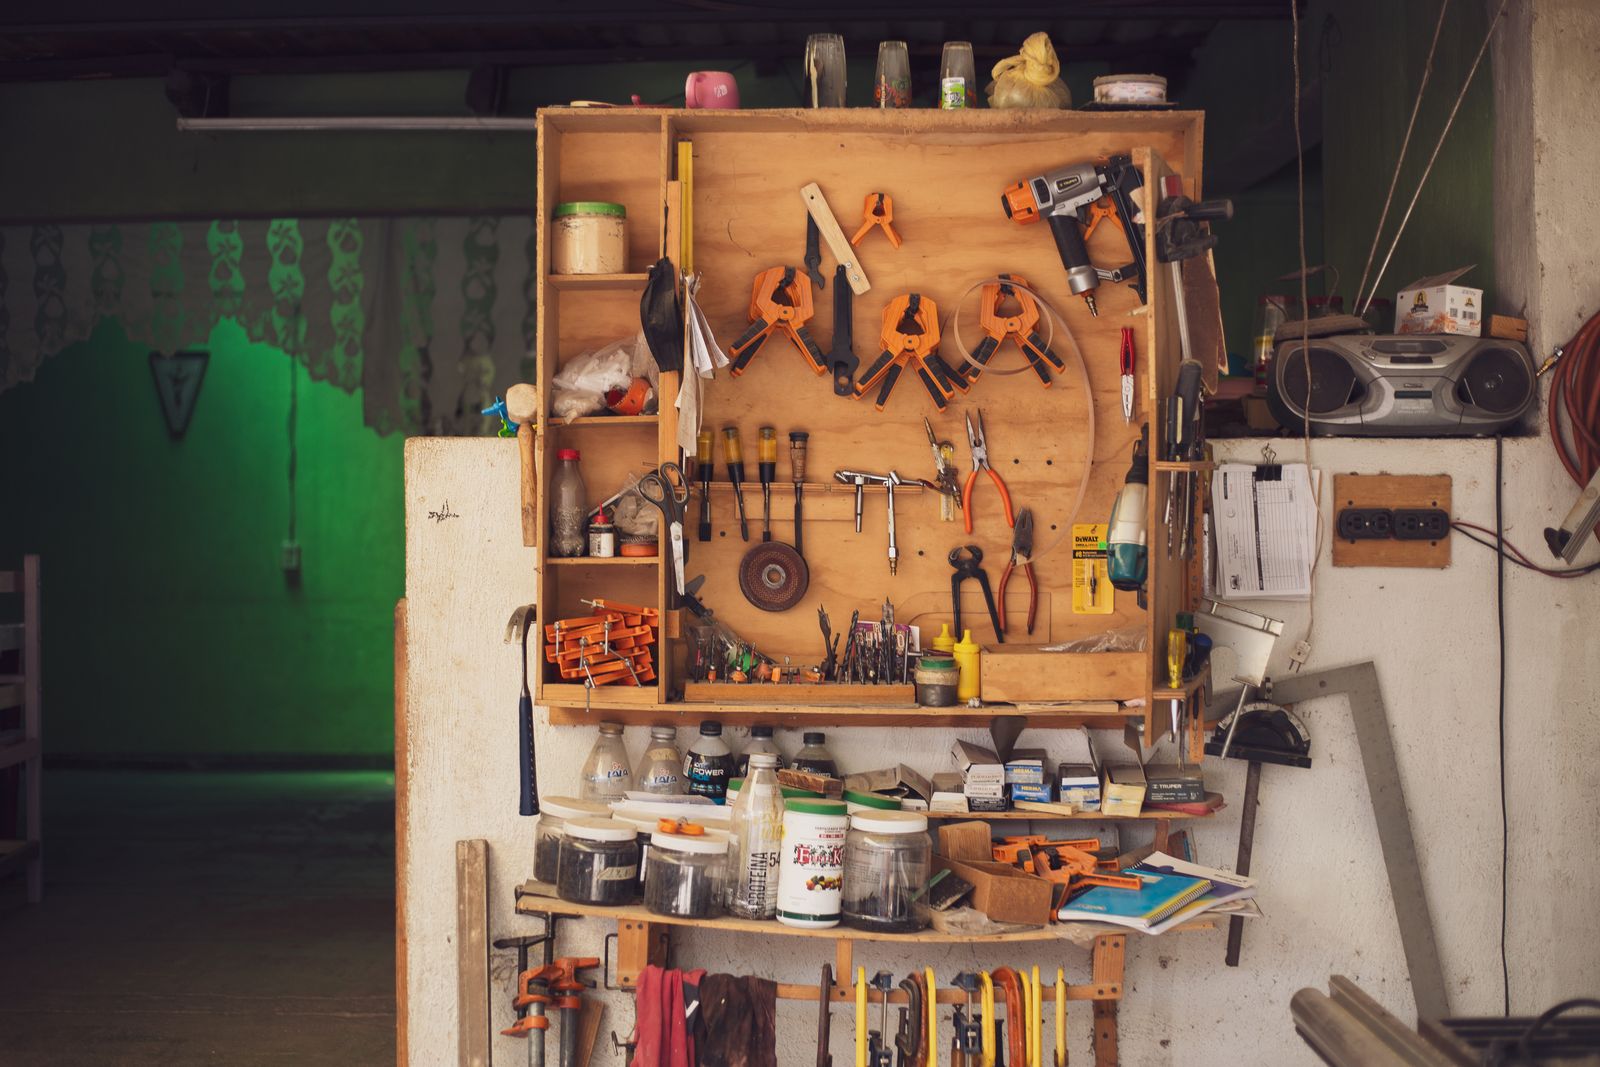
Tools are the single biggest source of garage clutter because they are awkward shapes, they multiply over time, and a drawer full of them is nearly impossible to search quickly. A pegboard solves all three problems at once: every tool gets a visible, specific spot, odd shapes hang just fine, and you can see at a glance what is missing because its outline is empty.
Mount the pegboard at a height where the most used tools sit around shoulder level, with less common ones higher up or lower down. Group by task rather than by tool type alone, so the screwdrivers, drill bits, and measuring tape used for a typical small job are all within reach of each other, not scattered across the board by shape.
A simple trick that keeps a pegboard organized long after the first setup: trace each tool’s outline on the board in marker or use a thin strip of painter’s tape as a placeholder. It turns putting tools away into something almost automatic, and it makes a missing tool obvious in seconds rather than after a frustrating search.
If the garage walls are not finished or a pegboard cannot be mounted directly, a freestanding pegboard panel on a simple frame does the same job without requiring any permanent changes to the wall, which is worth knowing for anyone renting or sharing a garage with a landlord’s rules about drilling into the studs.
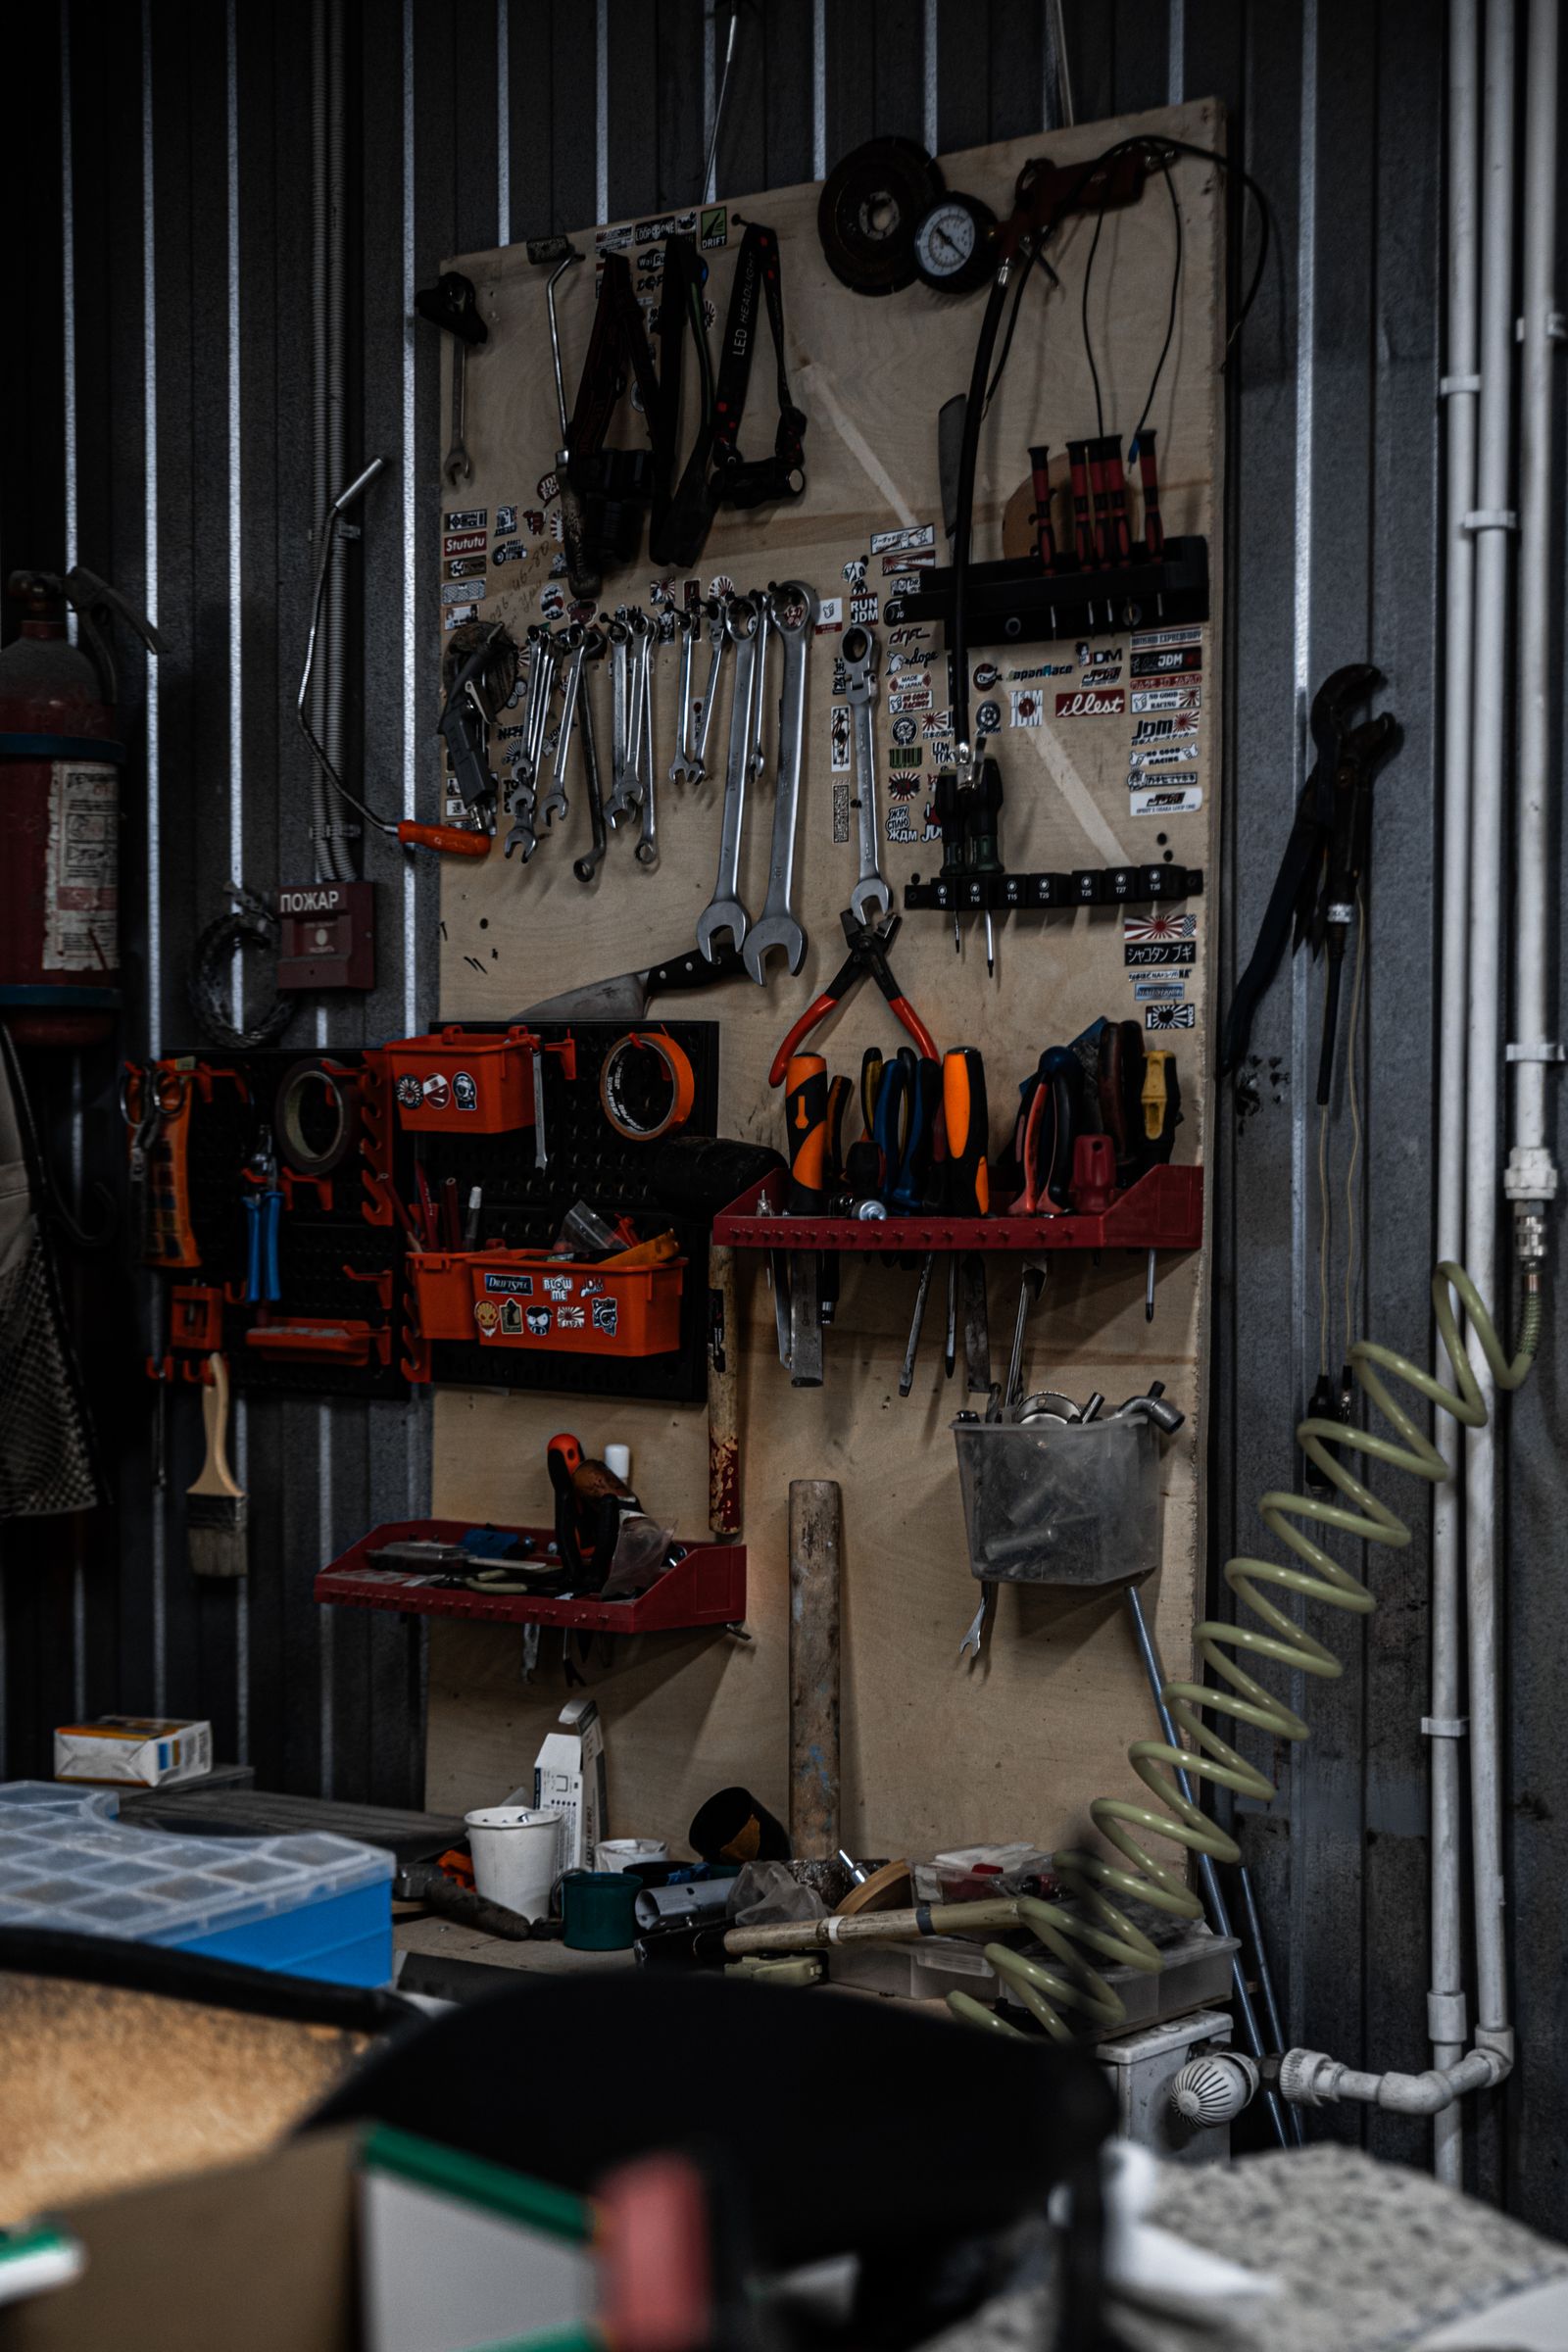
3. Overhead Storage for the Stuff You Rarely Touch
Every garage has a category of items that gets used once or twice a year: holiday decorations, camping gear, a spare set of patio cushions, the suitcase nobody needs most of the year. None of that needs to sit at eye level taking up prime wall space. It belongs up near the ceiling, out of the way, but still accessible with a step stool when the season calls for it.
A set of overhead storage racks mounted to the ceiling joists, or even simple shelving built above head height along one wall, reclaims a huge amount of usable floor and wall space without costing much. Keep the heaviest bins lower on the rack and label every box clearly on the side facing outward, since you will be looking up at an angle, not reading the top of the lid.
Ladders, in particular, are notorious for taking up an entire corner of floor space when they could be hung flat against a wall or stored flush under an overhead shelf. A couple of simple hooks rated for the ladder’s weight free up a surprising amount of room.
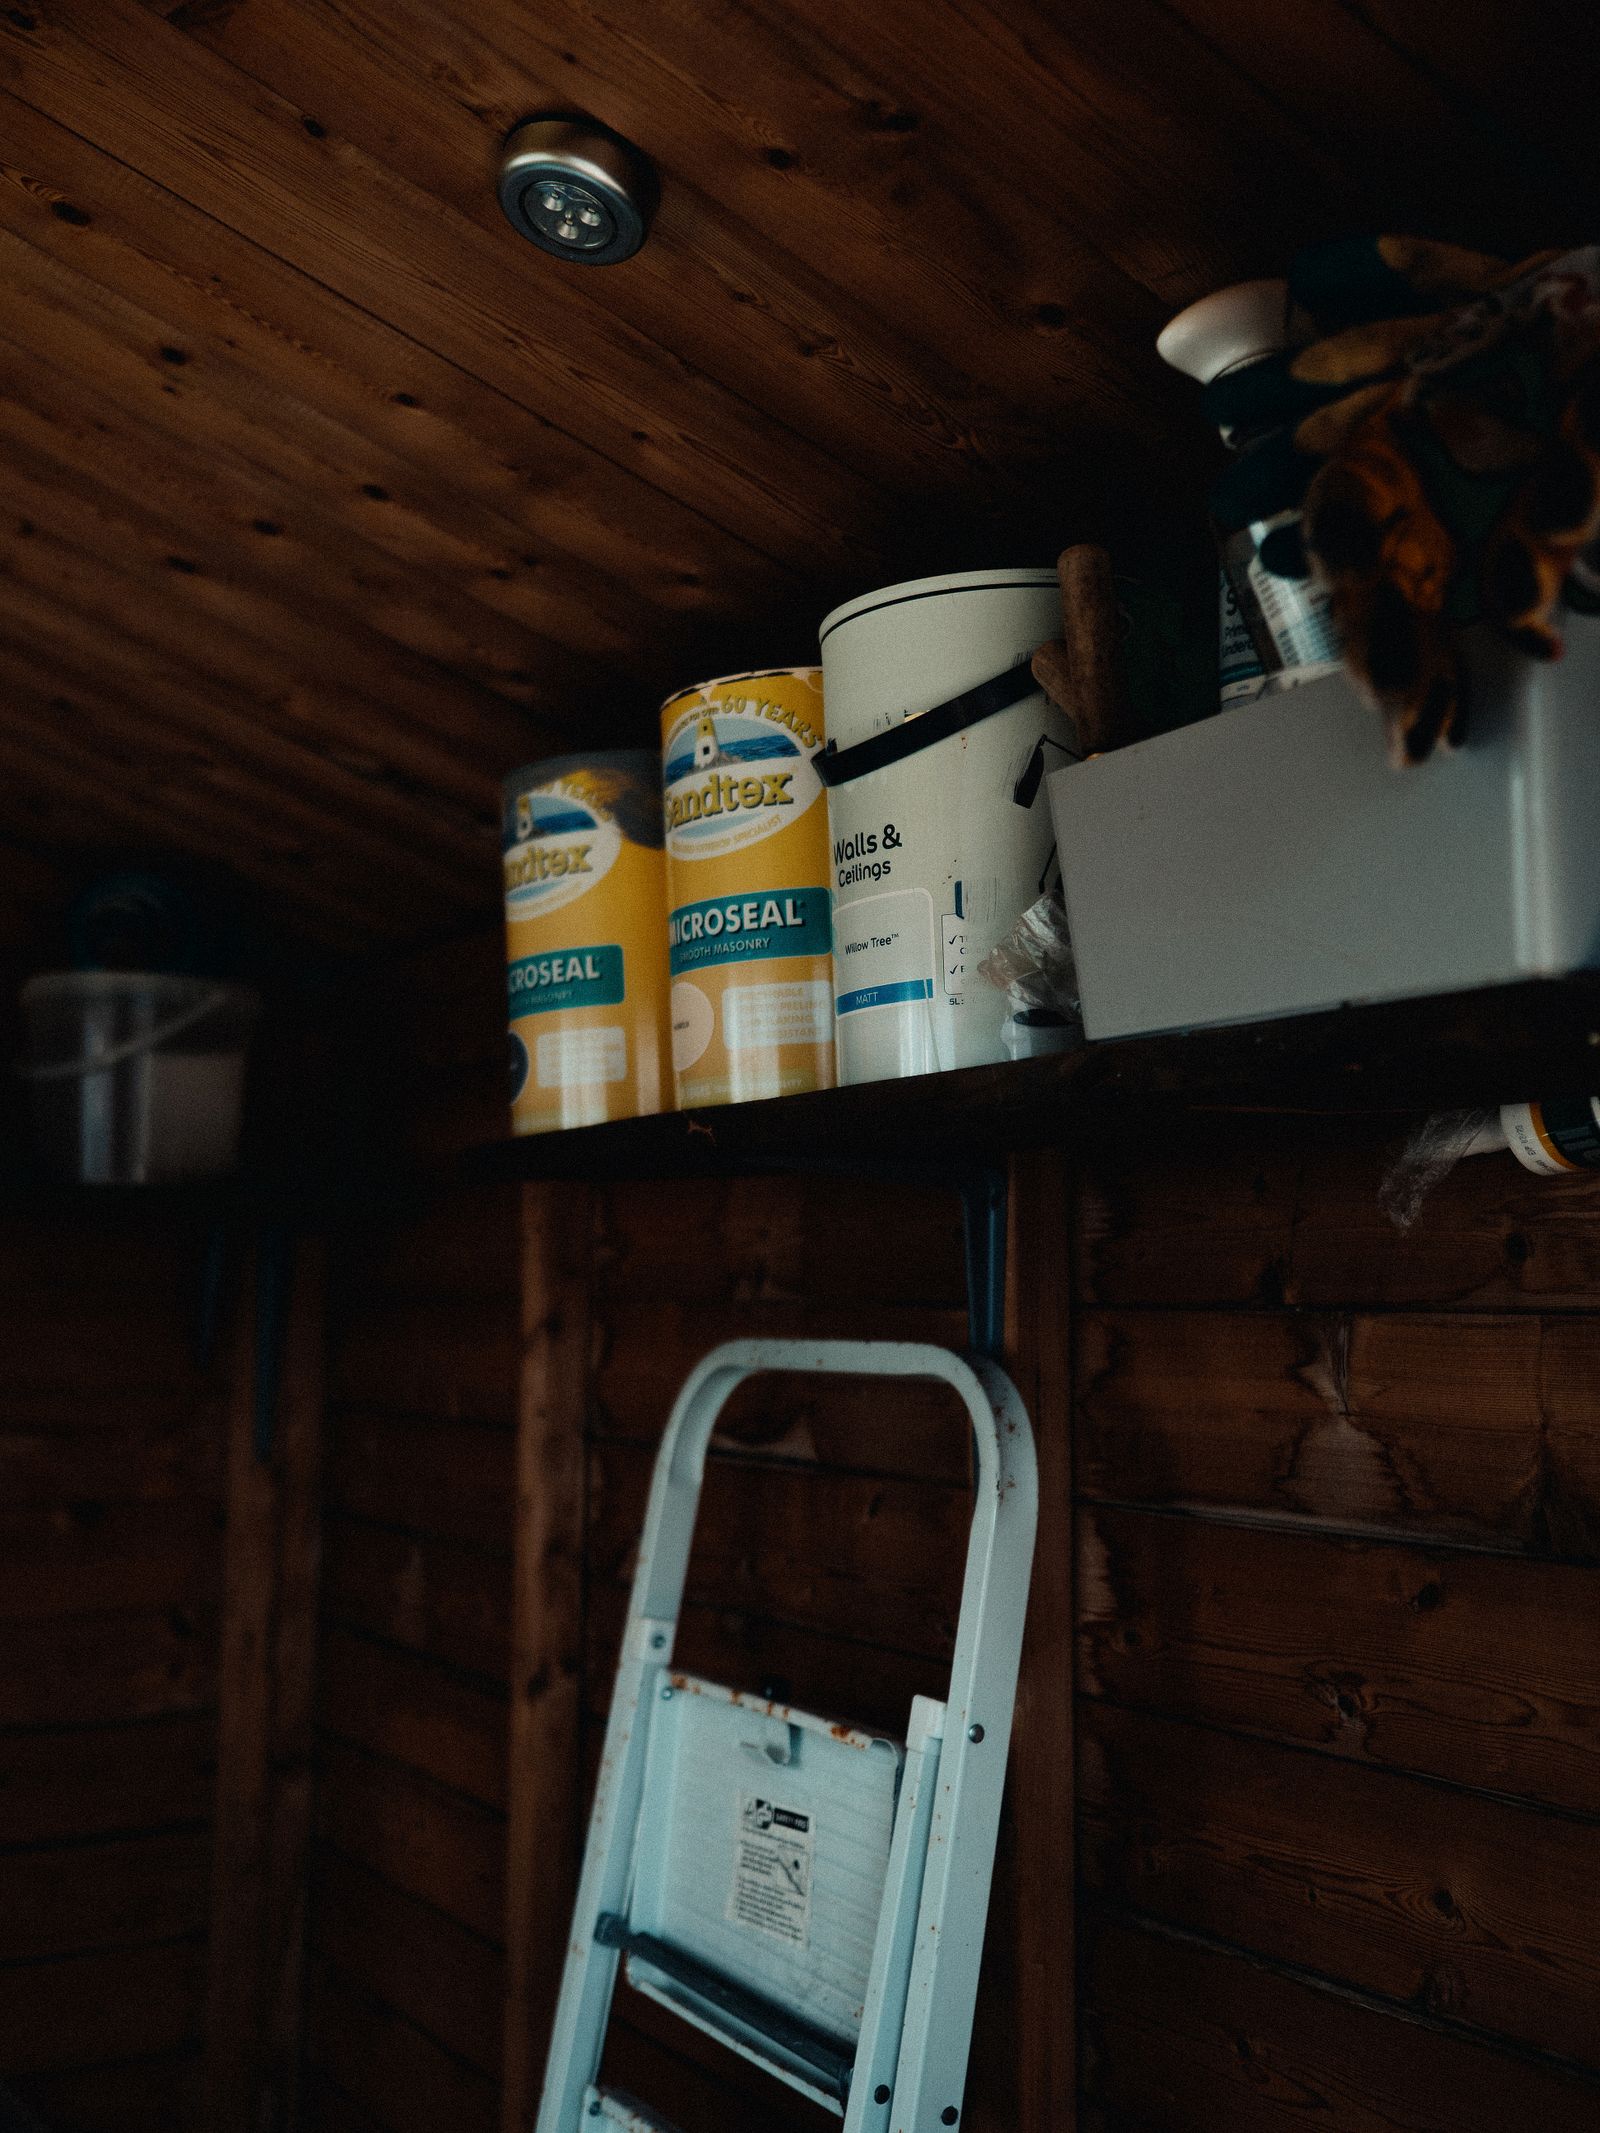
4. Clear Bins With Real Labels
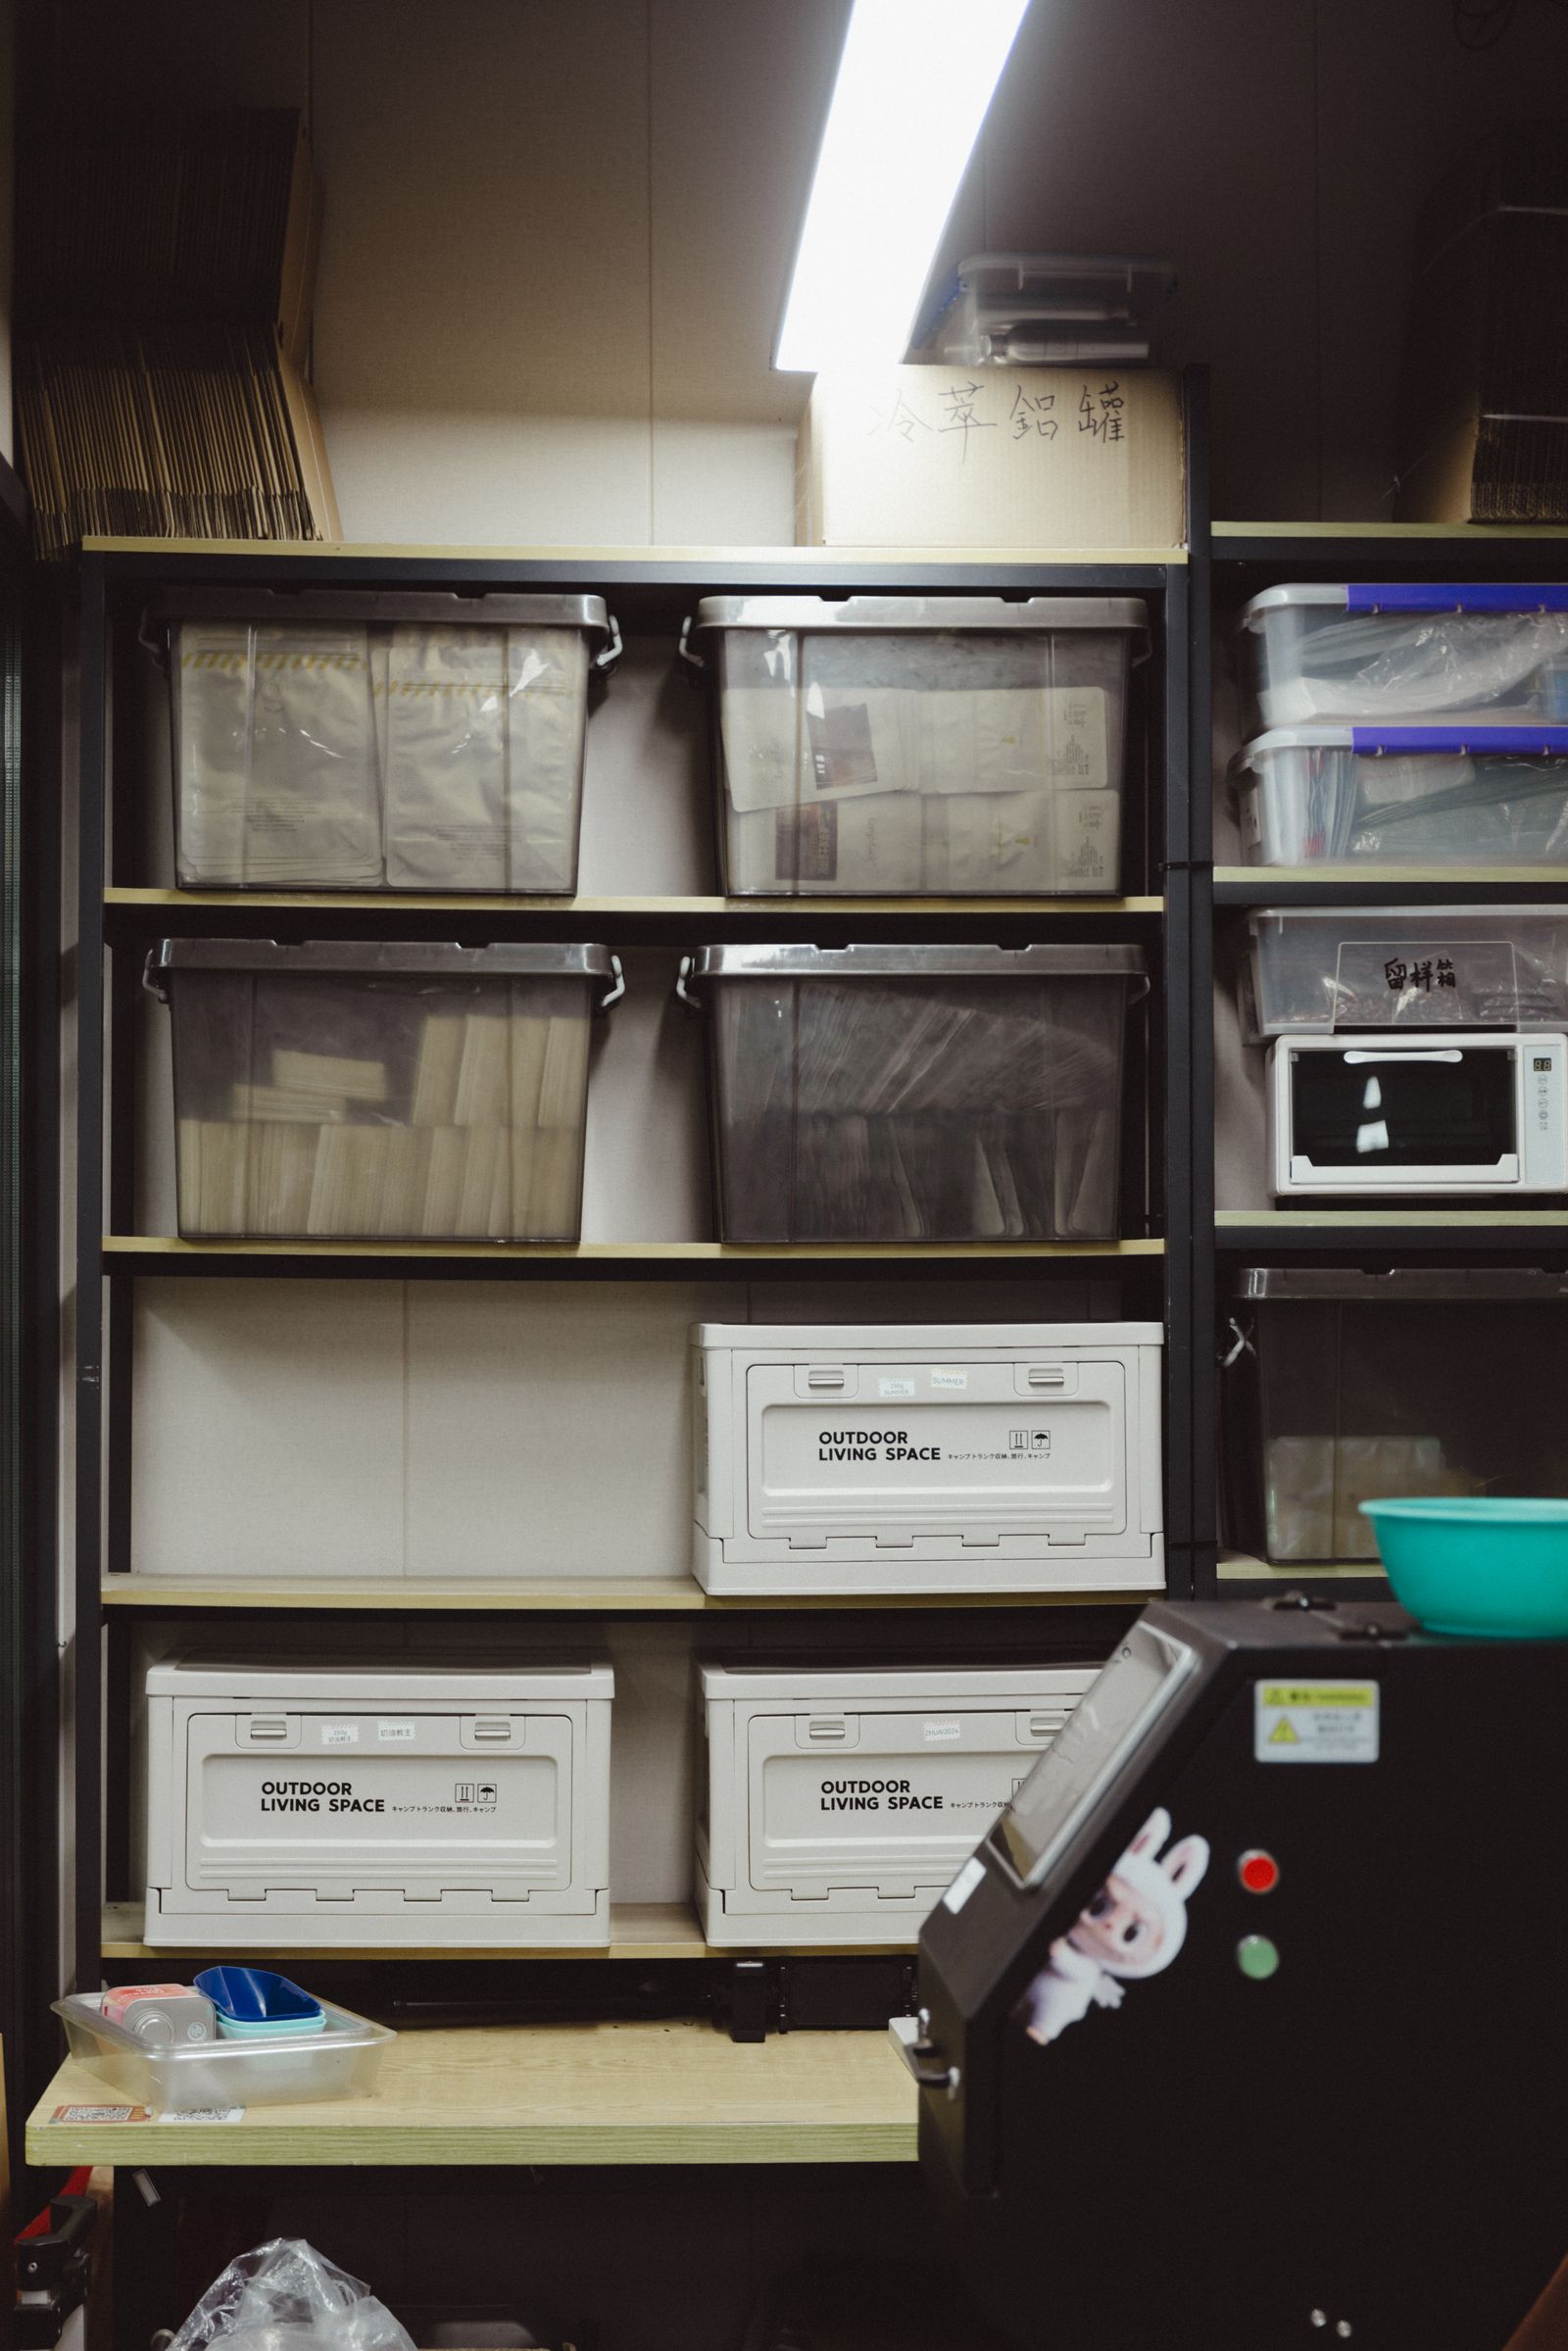
Cardboard boxes are the default container for garage overflow, and they are also the reason most garages stay disorganized. They warp if anything gets damp, they are impossible to see into, and the label fades or tears off within a season. Clear plastic bins fix the visibility problem immediately, since you can tell what is inside without opening a single lid.
Labeling matters just as much as the container. A single word on a sticky note is not enough once you have a dozen similar looking bins stacked on a shelf. Use a label on both the lid and the short end of the bin, written large enough to read from a few feet away, and be specific: “Halloween decor” is more useful than just “holiday.”
Group bins by the same zones established in step one, and keep the ones used most often at a height that does not require a step stool. A bin you open every month should never be the one buried at the bottom of a stack.
5. A Dedicated Spot for Sports Gear
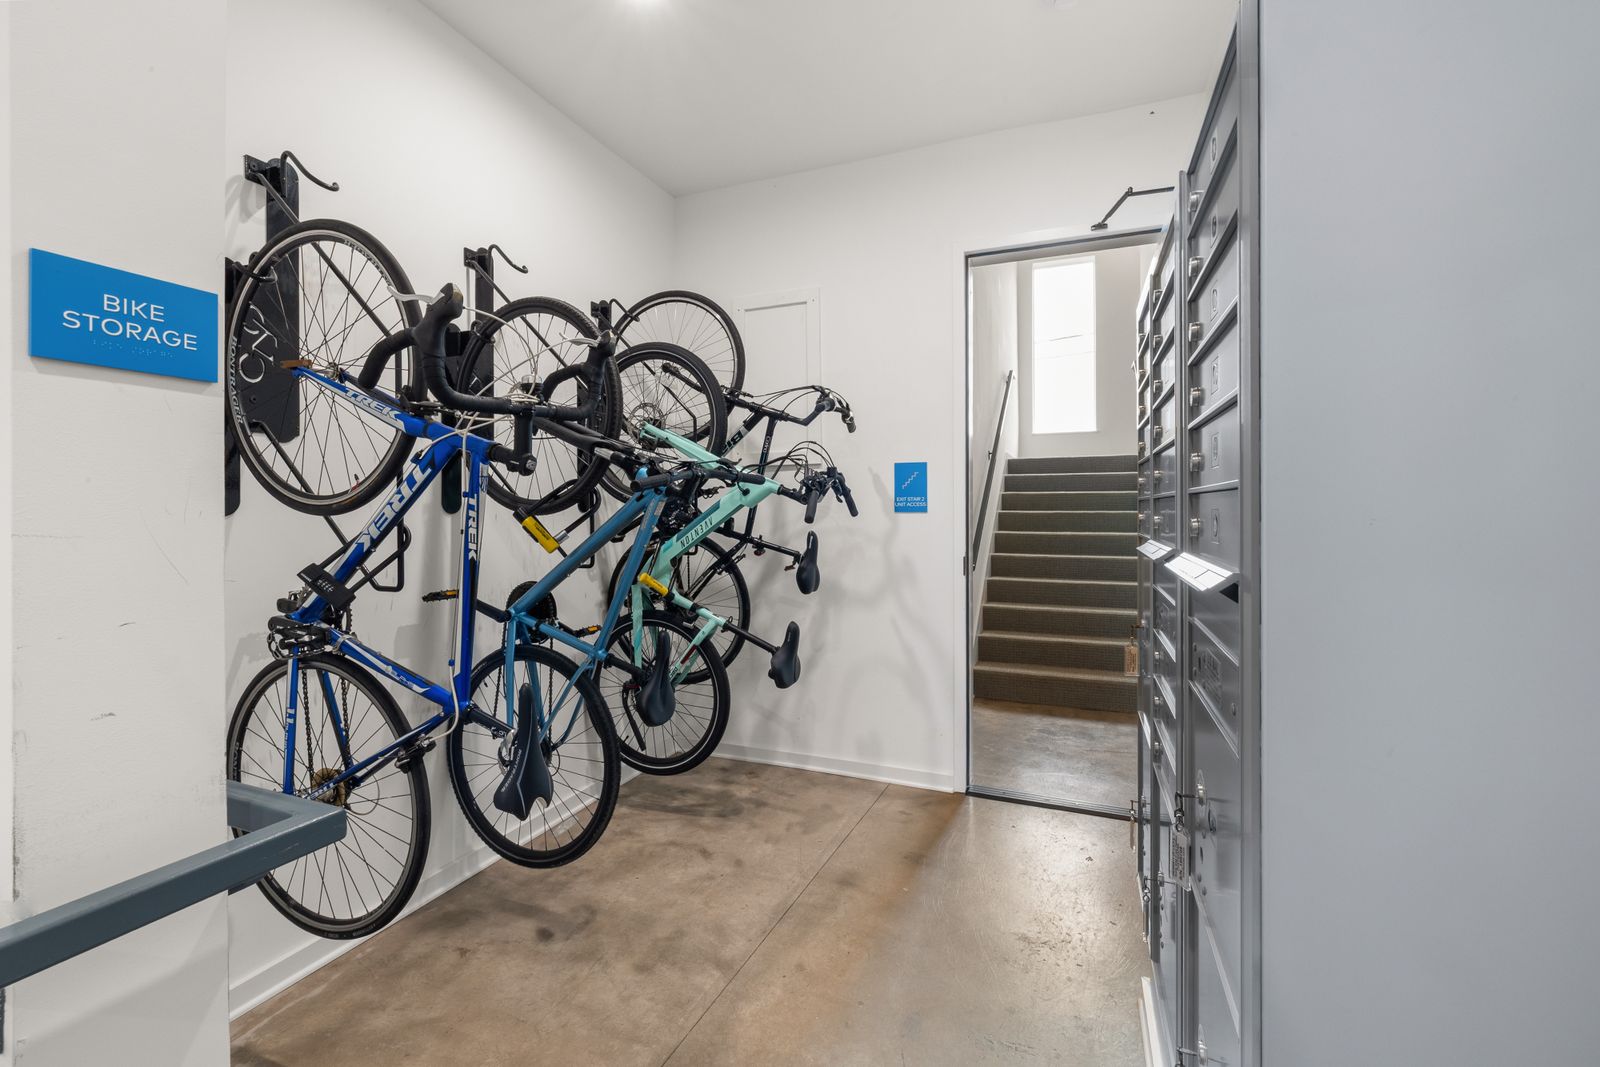
Bikes, balls, helmets, and anything else tied to an active household tend to end up in a pile near the door, since that is the fastest place to drop them on the way inside. A dedicated storage area fixes this without asking anyone to change their habits much, because it just needs to be as easy as the pile was.
Wall mounted hooks sized for bike frames keep them off the floor entirely and free up a surprising amount of space, since a bike standing upright on the floor takes up far more room than one hanging flat against a wall. A shallow basket or mesh bag system works well for smaller, rounder items like balls that do not hang neatly on a hook.
If more than one person in the household uses the space, assign a hook or a basket to each person rather than one shared pile. It is a small change that makes a real difference in whether things actually get put back.
6. A Small Workbench That Earns Its Space
Not every garage needs a full workshop, but even a small dedicated surface for repairs, small projects, or just setting something down while you work changes how the whole room functions. Without one, every project ends up spread across the hood of the car or the floor, which makes even a quick fix feel like a bigger undertaking than it is.
A workbench does not need to be large. A sturdy folding table or a simple built in counter along one wall, paired with a small pegboard or shallow shelf above it for the tools used most often during repairs, is enough for most households. Keep the surface itself clear between projects, since a workbench that is always covered in leftover clutter stops functioning as a workbench at all.
Position it near good lighting and, if possible, near an outlet, since most small repair jobs eventually need a power tool or a charger within reach.
7. Keep the Center Open
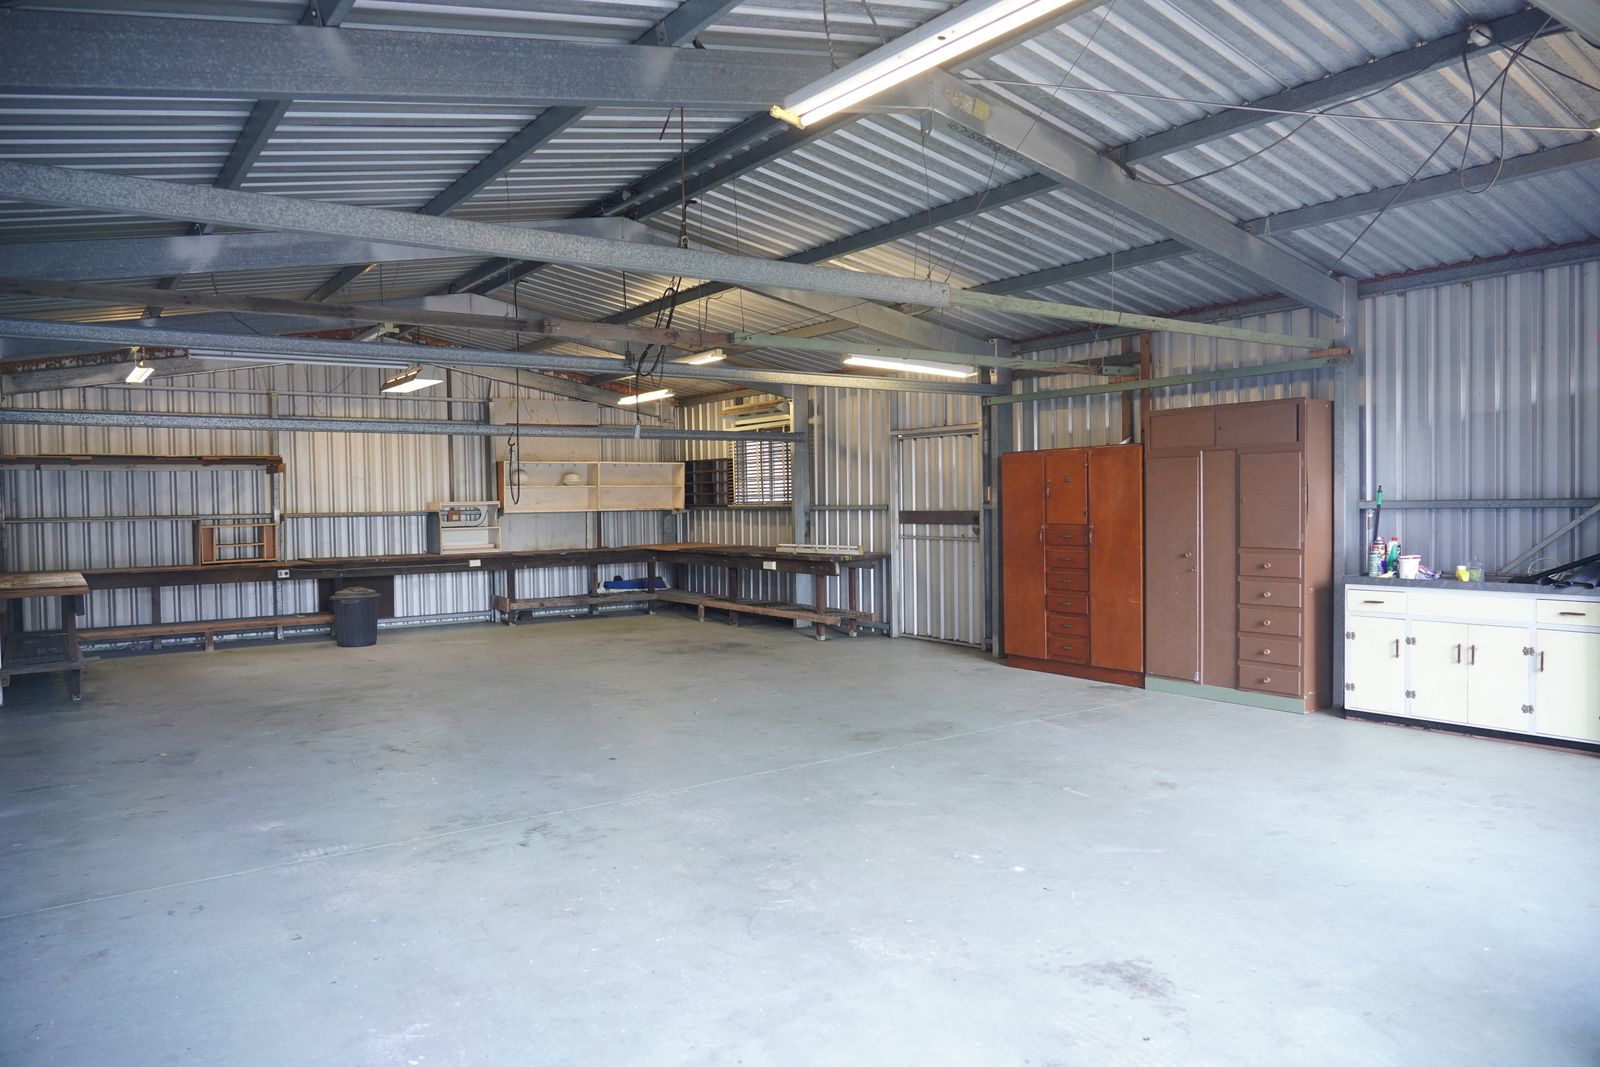
After zones are mapped, tools are mounted, bins are labeled, and gear has a home, the last step is the simplest one to forget: protect the open floor space in the middle. It is tempting to let that space slowly fill back in with whatever does not have an assigned spot yet, but an open center is what actually lets the garage function, whether that means parking the car, pulling out a bike, or just walking through without stepping over anything.
A strip of tape or a painted line on the floor marking where the car’s bumper should stop is a small, low effort way to protect that space, since it gives everyone in the household a clear visual boundary for what counts as storage area and what counts as drive space. It also makes it obvious the moment something has been left somewhere it should not be.
A garage that stays organized is rarely the result of one big cleanout. It is the result of every item having an actual assigned home, so putting things away takes no more effort than leaving them out did before.
Common Mistakes That Undo a Garage Cleanout
Even a well planned garage system can slip back into chaos within a few months. A few habits tend to be behind most of the backsliding, and knowing them in advance makes it much easier to catch the problem early instead of starting over from scratch next year.
The most common one is treating the garage floor as a temporary landing spot. Something gets set down “just for now” with the intention of putting it away later, and later never quite arrives. Within a few weeks there is a small pile, and within a few months the pile has absorbed half the open floor space the zoning step worked so hard to protect. The fix is less about willpower and more about making sure every category of item genuinely has a spot close enough to be convenient, since a home that is inconvenient to reach gets skipped under time pressure.
Another frequent mistake is buying storage before sorting. It is tempting to walk into a home improvement store and pick up a wall of matching bins, but bins bought before you know what you are actually storing often end up the wrong size, the wrong shape, or simply more than the space needs. Sorting first, as in the zones step above, tells you exactly what to buy and how much of it, which also tends to save money.
Finally, a system with no regular check in will not maintain itself. A short seasonal pass, even just twenty minutes once every few months, to put stray items back where they belong and catch anything that has drifted out of its zone is usually enough to keep a garage from sliding back to where it started.
Frequently Asked Questions
How much does it cost to organize a garage?
A basic setup using a pegboard, a handful of clear bins, and some wall hooks can be done for well under a hundred dollars. Overhead racks and a dedicated workbench add to that, but neither is required to see a real improvement.
What is the best flooring for a garage?
Sealed concrete is fine for most households and needs almost no upkeep. Epoxy coatings and interlocking floor tiles look nicer and are easier to keep clean, but they are an upgrade, not a requirement for an organized space.
How often should a garage be decluttered?
Once a year, ideally at the same time as a seasonal changeover, is usually enough to catch anything that has quietly piled up again and to rotate out items the household no longer needs.
Where should the most used items go?
Anywhere between knee and shoulder height, and closest to the door you use most. Items used only once or twice a year are the ones that belong higher up or further back.